Sewing Tips
Topstitching and Edgestitching for a Polished Finish
Let’s talk about topstitching and edgestitching for a polished finish. You know—that final detail that makes your DIY sewing project look like it came from a high-end boutique instead of your kitchen table.
I used to skip this step. Honestly, I thought it was just decorative fluff. Who needs it, right? I’d finish a project, hold it up, and think, “Well, it’s good enough.” But then one day, I made a denim apron for my brother. He’s a no-fuss kind of guy, but even he said, “Whoa, this looks legit.” What was different? Yep—topstitching and edgestitching for a polished finish. That extra bit of effort made the whole thing look clean, crisp, and downright professional.
Read More About Topstitching and Edgestitching for a Polished Finish

So, What’s the Deal with These Stitches?
If you’re new to sewing (or just haven’t played with your machine’s settings in a while), let me break it down. Topstitching is when you sew a visible line on the right side of the fabric, typically 1/4″ or more from the edge. Edge Stitching is similar but tighter—like, really hugging that seam. We’re talking 1/16″ to 1/8″.
They both serve double duty: looking good and keeping your fabric layers in place. If you’ve ever had a collar that just won’t sit flat or pockets that look kinda sloppy—yep, topstitching and edgestitching can fix that.
More Things to Know About Topstitching and Edgestitching for a Polished Finish

Why Bother? It’s Just a Little Line, Right?
Here’s the thing—when you use topstitching and edgestitching for a polished finish, you’re adding structure. Think button-down shirts, jeans, bags, even home decor like pillow covers. That stitching keeps the fabric from shifting, rolling, or fraying. And let’s be real—it just looks cooler. You know that feeling when someone says, “Did you make that?” and their eyes go wide? Yeah, that’s the power of a good stitch line.
Plus, for guys who are into more rugged projects (hello, tool rolls and utility aprons), those sturdy seams aren’t just about looks. They add durability. Function and fashion? Yes, please.
What You Need (Spoiler: Not Much)
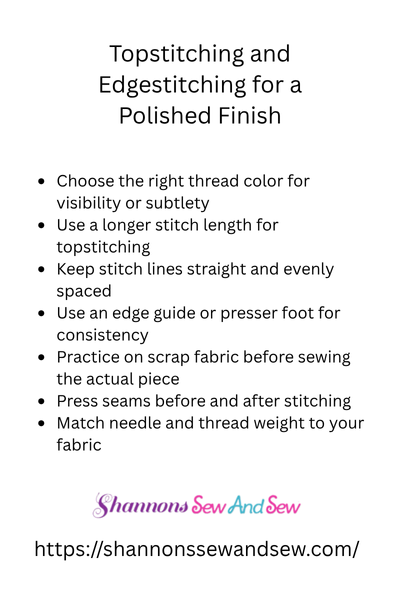
No fancy tools required. You can pull this off with your basic sewing machine. A straight stitch works just fine. Just make sure to lengthen your stitch a bit—usually somewhere between 3.0 and 4.0 works beautifully for topstitching. It helps your lines stand out and avoids puckering.
Thread color is where you can have fun or stay subtle. Want that classic jeans look? Go for a contrast like gold or tan. Want it sleek and discreet? Match your fabric and let the texture do the talking.
Real Talk: Getting It Straight Isn’t Always Easy
I’ll be honest—my first few tries looked like I was stitching after three cups of coffee. Wobbly lines, weird curves… it happens. But here’s the trick: go slow. Use your presser foot as a guide. Some machines even have an edgestitch foot with a blade that hugs the seam for you—super handy if you’re a perfectionist like me.
And practice on scraps. Seriously. Don’t experiment on your final piece unless you’re cool with doing it over.
Where Should You Use It?
Short answer: wherever you want a clean, crisp finish. Some popular spots?
- Collars and cuffs
- Waistbands
- Necklines
- Pocket edges
- Hems
- Bag straps
You can even double up your topstitching lines for that industrial, workwear vibe. It’s surprisingly satisfying. I once made a canvas backpack with twin rows of topstitching in navy blue. Not only did it hold up through travel abuse, but people kept asking where I bought it.
But Isn’t It Just for Looks?
Nope. Not at all. Topstitching and edgestitching for a polished finish can make or break how your garment wears over time. Think about your jeans—without those sturdy stitches, they’d stretch out and lose shape faster. Or a tote bag strap that starts twisting? Topstitching keeps it in check.
There’s a reason pro designers swear by it. That polished finish isn’t just eye candy—it’s smart construction.
My Favorite Surprise
Okay, confession time. I didn’t expect how fun it would be. There’s something really satisfying about running that last line of stitching, flipping it over, and seeing this perfect little row of thread hugging the edge. It’s like adding icing to a cake—or if you’re more of a pizza person, like the crispy cheese on the crust. You could go without it, but why would you?
Topstitching and Edgestitching Tips That Truly Finish the Look
If you’ve been skipping this step, I get it. We all want to finish and admire our project already. But trust me—adding topstitching and edgestitching for a polished finish is 100% worth it. It’ll level up your sewing game, boost your confidence, and give you that “wow, you made that?!” reaction every single time.
Try it on your next project, even if it’s just a simple pouch or apron. And hey, if your first line looks a little wonky, don’t sweat it. That’s what seam rippers are for—and experience.
Sewing’s supposed to be fun. This is just another tool to help you enjoy the process and the final result.
Got a story about a project that came together thanks to topstitching? Or one that went hilariously sideways? Drop it in the comments—I’d love to hear it!


