Sewing For Beginners
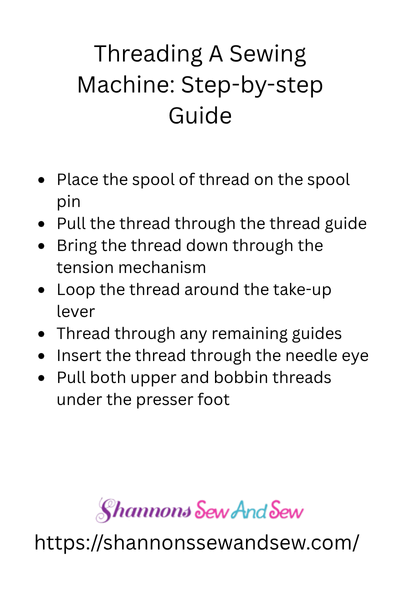
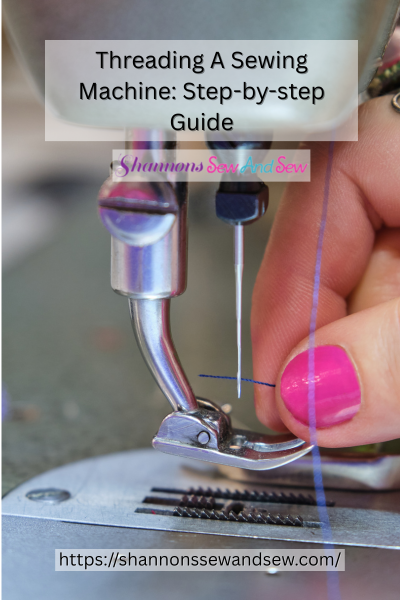
Threading a Sewing Machine: Step-by-Step Guide
So, you’re ready to dive into the world of sewing, but there’s just one thing standing in your way: threading a sewing machine. I know, it sounds simple, but if you’ve ever found yourself staring blankly at all those little hooks and levers, trust me—you’re not alone.
The first time I tried to thread my machine, I ended up with a tangled mess, some very creative language, and a strong urge to throw the whole thing out the window. But hey, once you get the hang of it, it’s actually pretty easy—and kinda satisfying too.
Let’s walk through this threading a sewing machine: step-by-step guide together, like two friends figuring it out over coffee (minus the coffee spilling all over your fabric).
Read More About Threading a Sewing Machine: Step-by-Step Guide
Start With the Basics
Before you touch anything, make sure your sewing machine is off. I know, obvious, but excitement can override logic sometimes. I’ve poked myself on a needle more than once just from forgetting to switch it off. No judgment here.
Once you’re ready, grab your spool of thread and place it on the spool pin. Machines can vary a bit, but most modern models have a horizontal pin where the thread lies flat. Pop on a cap to keep it from flying off—ask me how I learned that one.
Now you’re officially on step one of this threading a sewing machine: step-by-step guide—congrats!
More Things to Know About Threading a Sewing Machine: Step-by-Step Guide
Follow the Thread Path (Literally)
Here’s where the magic (and the potential confusion) happens. You’ll need to pull the thread across the top of the machine and slip it into the thread guide. It’s usually a small metal hook near the top. After that, guide the thread down toward the tension discs. They’re inside a vertical slot and help control the flow of thread—yes, those matter a lot.
If you’ve ever had loops or puckering in your stitches, tension is often the sneaky culprit. But don’t stress. This part of threading a sewing machine is just about getting the thread through the right spots.
Once you hit the bottom, bring the thread back up to the take-up lever. This is that little metal arm that bobs up and down when your machine is running. Make sure the thread goes through it completely. If not, your machine might act like it’s haunted—clunking, knotting, or refusing to sew altogether.
Head Down Toward the Needle
Almost there! Bring the thread down again toward the needle area. There may be another thread guide or two on the way. Just follow the path like you’re connecting the dots.
Now comes the part that’s either super easy or mildly rage-inducing depending on your machine: threading the needle. If you’ve got a built-in needle threader, bless your machine. Use it. If not, steady your hand, take a breath, and aim for that tiny eye. A little trick I use? Cut the thread end at an angle to make it pointy. Works like a charm most days.
And remember, always thread the needle front to back, not the other way around.
Don’t Forget the Bobbin
Oh yes, threading a sewing machine isn’t just about the top thread. You’ve gotta wind and insert the bobbin too, or you won’t get any stitches at all.
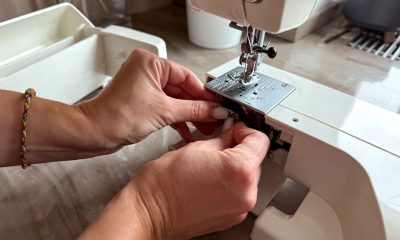
Drop-in bobbins are super beginner-friendly—just drop it into the bobbin case under the needle plate, pull the thread into the groove, and follow the arrows. If your machine uses a front-loading bobbin, you’ll need to insert it into a small case and click it into place. Sounds fancy, but it’s not too bad once you do it a couple of times.
Make sure to bring the bobbin thread up by holding the top thread, turning the handwheel toward you slowly, and pulling until you see a loop come through. Catch that loop and pull both threads toward the back of the machine.
Boom! You just nailed the most frustrating part of sewing.
Practice Makes Pretty Darn Perfect
Here’s the truth: your first time threading a sewing machine might not go perfectly. That’s totally okay. I messed up my threading more times than I can count—and I still forget to lower the presser foot sometimes (which, by the way, you need to do or the tension won’t engage).
But every time you do it, it’ll get faster, smoother, and one day you’ll do it without even thinking. Like tying your shoes. Or making coffee half-asleep.
You’ll be threading your machine like a pro and rolling your eyes at your past self who panicked at the sight of the thread spool. We’ve all been there.
Know Your Sewing Machine, Sew With Confidence
Let’s be real, threading a sewing machine isn’t the most glamorous part of sewing—but it is the most important. Without it, you’ve just got a fancy table decoration.
So take your time, follow this threading a sewing machine: step-by-step guide, and don’t beat yourself up if it doesn’t go perfectly right away. You’re learning something new, and that’s always a win in my book.
Now, go make something awesome—and tell that sewing machine who’s boss.


Beginners Guide to Setting Up Your Sewing Machine

How to Sew a Drawstring Bag: Beginner Project

How to Sew a Shirred Garment with Elastic Thread

Sewing Smocked Garments: Techniques and Tips

How to Sew a Basic Fabric Coaster for Beginners

Sewing Tunic Tops and Dresses: Styles and Patterns

Sewing Pleated Garments: Techniques and Styles

How to Sew a Peplum Top or Dress

Sewing Formal Wear: Gowns, Tuxedos, and Suits

Sewing Basics for Men’s Clothing: Shirts, Pants, and Jackets

Sewing with Lace: Techniques for Clean and Elegant Finishes

How to Sew a Professional Waistband on Skirts and Pants

Sewing Winter Accessories: Hats, Gloves, and Scarves

Sewing with Sheer and Lightweight Fabrics

Sewing Sustainable Fashion: Upcycling and Repurposing Textiles

Sewing Vintage-Inspired Clothing: Patterns and Techniques

Sewing Costumes for Cosplay, Theater, and Special Events

Sewing Adaptive and Inclusive Clothing for Various Needs

Sewing Children’s Clothing: Patterns, Sizing, and Tips
