Sewing Tips
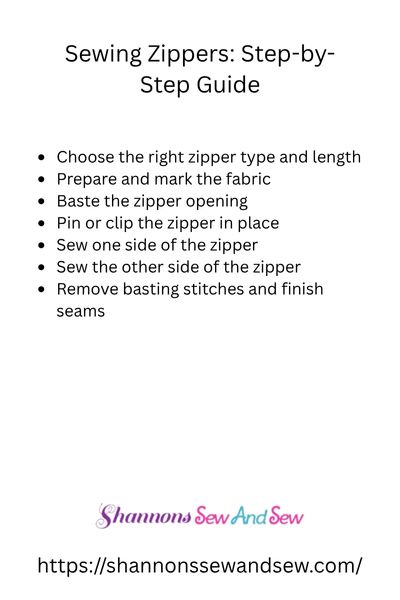
Sewing Zippers: Step-by-Step Guide
Sewing zippers might seem tricky at first, but trust me, once you get the hang of it, you’ll wonder why you ever avoided them. I remember my first attempt—let’s just say it involved a lot of unpicking and a few choice words. But hey, practice makes perfect, and now I actually enjoy sewing zippers. Let’s walk through this together so you can master them too!
Read More About Sewing Zippers: Step-by-Step Guide
Getting Started with Sewing Zippers
Before we dive in, let’s talk about what you need. Obviously, you’ll need a zipper (duh), fabric, a zipper foot for your sewing machine, and some patience. If you don’t have a zipper foot, you can sew a zipper with a regular presser foot, but it’s like eating soup with a fork—possible, but unnecessarily difficult.
Choosing the Right Zipper
Not all zippers are created equal. There are invisible zippers, standard zippers, separating zippers—you name it. If you’re making a hoodie or jacket, go for a separating zipper. A skirt or dress? An invisible zipper will give you that seamless look. And if you’re working on a bag or pouch, a standard zipper will do the trick.
More Things to Know About Choosing the Right Zipper
Step 1: Preparing Your Fabric
First things first, press your fabric. Wrinkled fabric is a nightmare to sew on, and we don’t need any extra drama. If you’re working with a stretch fabric, stabilize the zipper area with interfacing so it doesn’t warp.
Step 2: Pinning or Basting the Zipper
Now, line up the zipper with the fabric. If you like to live on the edge, you can go straight to sewing, but if you want to keep things neat, baste the zipper in place first. This just means sewing a long, loose stitch that you’ll remove later. It keeps the zipper from shifting and saves you from frustration.
Step 3: Sewing the Zipper
Attach your zipper foot—this little guy lets you sew nice and close to the zipper teeth without the foot getting in the way.
- Start sewing from the top down on one side.
- When you get to the zipper pull, pause, lift the presser foot, slide the pull out of the way, and keep going.
- Repeat for the other side.
Pro tip: Go slow. I once got cocky and zipped through (pun intended), only to realize I had accidentally sewn the zipper shut. Not my finest moment.
Step 4: Finishing Touches
Once your zipper is in, press it gently with an iron. If there are any puckers or weird gaps, you can go back and fix them with a few hand stitches. And if all else fails, throw a decorative topstitch on there and call it a design choice.
Troubleshooting Common Zipper Issues
Let’s be real—things don’t always go smoothly. Here are a few common hiccups and how to fix them:
- Zipper teeth not lining up? Take out the stitches and re-baste it in place. Yes, it’s annoying, but it’s worth it.
- Fabric puckering? Try using a longer stitch length or a walking foot if your fabric is thick.
- Zipper stuck? Rub a little bar soap or candle wax on the teeth to smooth things out.
Mastering Sewing Zippers: Step-by-Step Confidence
Sewing zippers doesn’t have to be a battle. With a little patience and practice, you’ll be adding zippers to everything—bags, dresses, even that couch cushion that lost its fight with the dog. So go on, grab a zipper, and give it a go. And remember, if it all goes wrong, there’s always the seam ripper. Happy sewing.

Beginners Guide to Setting Up Your Sewing Machine

How to Sew a Drawstring Bag: Beginner Project

How to Sew a Shirred Garment with Elastic Thread

Sewing Smocked Garments: Techniques and Tips

How to Sew a Basic Fabric Coaster for Beginners

Sewing Tunic Tops and Dresses: Styles and Patterns

Sewing Pleated Garments: Techniques and Styles

How to Sew a Peplum Top or Dress

Sewing Formal Wear: Gowns, Tuxedos, and Suits

Sewing Basics for Men’s Clothing: Shirts, Pants, and Jackets

Sewing with Lace: Techniques for Clean and Elegant Finishes

How to Sew a Professional Waistband on Skirts and Pants

Sewing Winter Accessories: Hats, Gloves, and Scarves

Sewing with Sheer and Lightweight Fabrics

Sewing Sustainable Fashion: Upcycling and Repurposing Textiles

Sewing Vintage-Inspired Clothing: Patterns and Techniques

Sewing Costumes for Cosplay, Theater, and Special Events

Sewing Adaptive and Inclusive Clothing for Various Needs

Sewing Children’s Clothing: Patterns, Sizing, and Tips
