Sewing Clothes
How to Sew a Wrap Dress or Top
So, you want to know how to sew a wrap dress or top? Let me tell you, it’s a fantastic project for anyone looking to dip their toes into garment making, whether you’re a seasoned sewist or a complete beginner. I’ve made my fair share of wrap dresses and tops, and I’m excited to walk you through the process. Trust me, once you learn this, you’ll be making these stylish, flattering pieces in no time.
Read More About How to Sew a Wrap Dress or Top

Why a Wrap Dress or Top?
Before we dive into the actual sewing, let’s talk about why you might want to make a wrap dress or top. I absolutely love them for their versatility. The wrap design gives you a perfect fit every time, and it’s super flattering for most body shapes. Plus, you can easily dress it up or down depending on the fabric you choose. It’s like the Swiss Army knife of wardrobe pieces. Need a quick, chic outfit for dinner or a casual day out? A wrap dress or top is your answer.
More Things to Know About How to Sew a Wrap Dress or Top

Picking Your Fabric
Now, before you even think about how to sew a wrap dress or top, you need to pick the right fabric. If you’re just starting out, go for something lightweight but not too flimsy, like cotton or rayon. These fabrics are easy to work with and drape nicely, which is super important for the wrap design. Avoid fabrics like heavy denim or thick wool because they’ll be harder to manipulate into the flattering shape you want.
When I first tried making a wrap dress, I chose a lightweight cotton. It was perfect for my beginner skills, and the dress turned out beautifully. So, take a little time to pick the fabric you love!
Cutting Out the Pattern
Alright, let’s get to the fun part – cutting the pattern. If you’re using a pre-made wrap dress or top pattern (which is a great idea, especially if you’re a beginner), follow the instructions and cut the pieces accordingly. The key to a successful wrap dress is making sure you get the right amount of fabric for the wrap-around effect, so don’t skimp on measurements!
Now, I’ve had my fair share of mistakes with cutting patterns, mainly because I was too eager to get started. The first time I cut out a wrap dress pattern, I accidentally cut the back piece too short. Trust me, there’s no fixing that once it’s done! So, take a deep breath, measure twice, cut once, and make sure your pattern pieces are accurate. The wrap effect depends on getting the pieces just right.
Assembling the Wrap Dress or Top
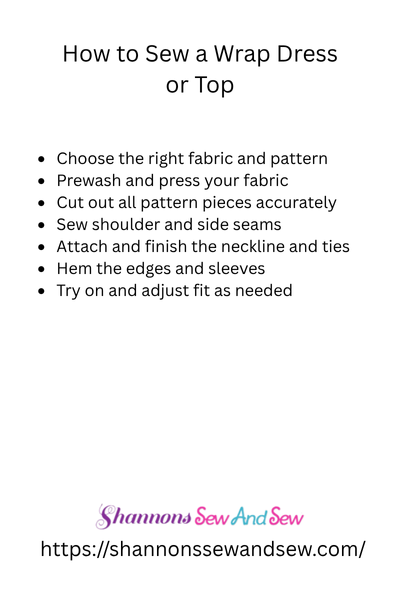
This is where the magic happens. When you sew a wrap dress or top, you’ll essentially be creating a cross-over effect. If you’re following a pattern, you’ll start by sewing the side seams, then work on the wrap portion, which will be the tricky but fun part.
Here’s where I’ve learned some tricks along the way: when you attach the wrap pieces, be sure to leave enough seam allowance for adjustments. That way, if it’s too tight or loose once you try it on, you can easily make tweaks. Trust me, a little flexibility in your seams can save you from pulling your hair out later.
Don’t rush through this part – sewing the wrap neckline and ensuring the fit is perfect can take a little time. But once you get it, it’s so satisfying.
Hemming the Edges
Now that your wrap dress or top is nearly assembled, it’s time to finish those raw edges with a clean hem. The easiest way to do this is with a double-fold hem. Fold the edge of the fabric over once, press it flat, then fold it over again and stitch it down. This will keep the edges neat and prevent any fraying.
As I was finishing my first wrap dress, I remember thinking, “Wow, this looks like something I’d buy in a store!” That’s the beauty of sewing – when you take your time, the end result feels like a little piece of magic.
Adding the Finishing Touches
This is the part where you can really make your wrap dress or top your own. I love adding little details like buttons, a decorative tie, or even a small pocket. These finishing touches can turn an already great piece into something even more special.
You don’t have to go overboard, but a few well-placed details will really make your wrap dress stand out. When I made my first one, I added a cute little fabric tie at the waist – it gave the whole dress an extra pop of personality. And trust me, people noticed.
How to Sew a Wrap Dress or Top: Final Thoughts
So there you have it – a simple guide to how to sew a wrap dress or top. It’s not as daunting as it might sound, and the end result is worth every minute spent sewing. Whether you’re making it for yourself or as a gift for someone else, the wrap design is both flattering and fun to make. Plus, you can play around with so many different fabrics and styles, so each piece can be as unique as you are.
Remember, when you start sewing your own wrap dress or top, be patient with yourself. It takes time to perfect, but with a little practice, you’ll be a pro before you know it! Have you tried making one yet? I’d love to hear how it turns out for you.
Let Your Sewing Journey Begin Today
If you’re excited to try sewing a wrap dress or top, don’t wait! Grab your fabric and pattern, and dive into this fantastic project today. You’ll be surprised at how quickly you get hooked on making your own clothes.


