Sewing Projects
How to Sew a Professional Waistband on Skirts and Pants
If you’ve ever struggled with how to sew a professional waistband on skirts and pants, you’re not alone. I’ve been there—fabric puckering, waistband looking like a wrinkled tortilla, the whole works. But here’s the good news: it doesn’t have to be complicated or frustrating.
When I first started sewing, waistbands were my nemesis. I could whip up a decent skirt or pair of pants, sure. But the waistband? That was the part that screamed “homemade” in the worst way. I remember this one time, I proudly showed off a pair of pants I made to a friend… and she asked if I meant for the waistband to look “wavy.” Ouch. Lesson learned.
So let’s talk about waistband wizardry—the good kind. Whether you’re sewing for workwear, casual vibes, or cosplay (hey, no judgment), mastering this little band of fabric will instantly level up your sewing game.
Read More About How to Sew a Professional Waistband on Skirts and Pants

Let’s Break It Down: What Makes a Waistband Look Professional?
Knowing how to sew a professional waistband on skirts and pants comes down to a few solid basics. It’s not about fancy machines or mysterious techniques. It’s about clean lines, secure stitching, and a nice finish—inside and out.
A professional waistband does a few things well:
- It lies flat (no puckers or waves)
- It’s the right height and shape for the garment
- It feels comfortable but structured
- And—this one’s important—it doesn’t twist or roll
You want your waistband to look good, but also feel good. Think about those pants that look amazing but feel like a boa constrictor by lunchtime. Yeah… we’re not going for that.
More Things to Know About How to Sew a Professional Waistband on Skirts and Pants

Choosing the Right Interfacing (Yes, It Matters)
Okay, here’s a little sewing truth bomb: interfacing can make or break your waistband.
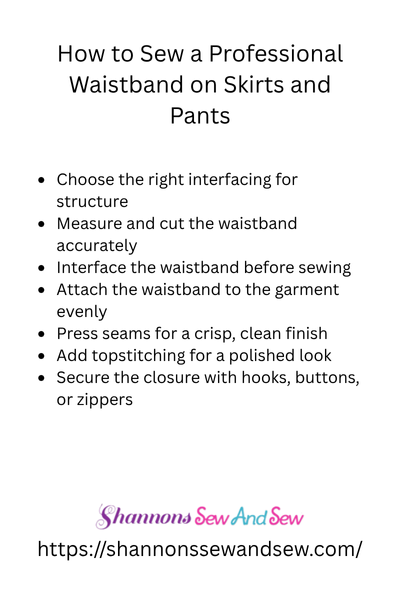
When I finally figured out how to sew a professional waistband on skirts and pants, it was after I stopped skipping the interfacing step. I used to think, “Nah, I don’t need that extra layer—it’s just a waistband.” Wrong. The interfacing helps it hold its shape and prevents sagging. And trust me, nobody wants a sad waistband.
If you’re making something structured, like trousers, go for a firm woven interfacing. For softer skirts, a lighter fusible one might do the trick. Do a little test on a scrap of your fabric to see how it feels. You’ll be glad you did.
Measuring and Cutting Like a Pro
Now, here’s where things get real. Measuring your waistband correctly is non-negotiable. You want it to fit your waist comfortably, not too tight and definitely not too loose. And remember to add seam allowances on both ends—ask me how I learned that one the hard way.
Pro tip: Cut your waistband on the cross grain of your fabric if you want a little extra give. That small bit of stretch can make a big difference, especially on pants.
Stitching the Waistband (You’ve Got This)
This is the part where most people start sweating. But sewing a waistband doesn’t have to be stressful. Once you understand how to sew a professional waistband on skirts and pants, it becomes a pretty satisfying step. Here’s how I usually go about it:
First, sew the outer waistband to the garment, right sides together. Press it up (pressing = magic, by the way). Then, fold the inner waistband down, tuck the raw edge in, and either stitch in the ditch from the right side or do a neat topstitch. I prefer topstitching—I like the visible line and I feel like it holds better.
Now if you’re like me and dread hand-stitching, you’re in luck. A good topstitch will save you from having to slip-stitch the whole inner waistband. It also gives it that “I-bought-this-from-a-store” look.
Closing the Loop: Adding Closures
Buttons, hooks, zippers—whatever your closure of choice, this is the finishing touch. Make sure your closure is sturdy and positioned just right. There’s nothing worse than a waistband that fits, but then the button pulls or the hook pops open. Talk about wardrobe malfunctions.
And please, give yourself permission to redo a part if it’s just not sitting right. I once unpicked and resewed a waistband three times because the zipper was misaligned. Was I annoyed? Totally. But now it’s one of my favorite pieces.
Final Thoughts on How to Sew a Professional Waistband on Skirts and Pants
Look, no one becomes a waistband ninja overnight. But the more you do it, the easier—and neater—it gets. Learning how to sew a professional waistband on skirts and pants is all about patience, practice, and a little perfectionism (just the right amount).
Whether you’re sewing something tailored or something flowy, that waistband is the final detail that ties it all together—literally and stylistically. And once you’ve nailed it, it’s hard not to feel like a total sewing boss.
So grab your interfacing, thread that machine, and let’s show those waistbands who’s boss. And if you mess up? Laugh, unpick, and try again. Been there, done that—and still loving it.
Now go stitch something awesome.


