Sewing Tips
How to Sew a French Seam for a Professional Finish
Have you ever looked inside a store-bought shirt and thought, How do they get those seams so clean? That, my friend, is the magic of the French seam. And today, I’m going to show you exactly how to sew a French seam for a professional finish—without needing any fancy equipment or even much sewing experience.
Read More About How to Sew a French Seam for a Professional Finish
Why Bother with French Seams?
Let’s be honest—when you first hear the words French seam, it sounds like some intimidating, couture-only thing, right? That’s what I thought too. But once I gave it a go, I was shocked (seriously, shocked) by how simple it actually is. Not only is it easy, but it instantly elevates your projects from homemade to handmade with style.
When I first started sewing, I was making pajama pants for my brother. Super basic. But I got so annoyed by the fraying seams inside. He loved them, but I knew they wouldn’t survive the wash. So, I dove into researching seam finishes—and boom—how to sew a French seam for a professional finish popped up everywhere. Game changer.
More Things to Know About How to Sew a French Seam for a Professional Finish

So What Is a French Seam, Exactly?
Think of it as a double seam that tucks all the raw edges inside—no exposed threads, no fray, no drama. It’s perfect for lightweight fabrics like cotton lawn, silk, or voile. And if you’re sewing clothes, pillowcases, or even handkerchiefs (yes, I still sew those!), this is a finish that says, I know what I’m doing—even if you’re totally winging it.
More Things to Know About How to Sew a French Seam for a Professional Finish

The Two-Step Dance: Sewing a French Seam
Here’s the wild part—how to sew a French seam for a professional finish actually starts with sewing the fabric wrong sides together. I know, it sounds backwards. But trust the process.
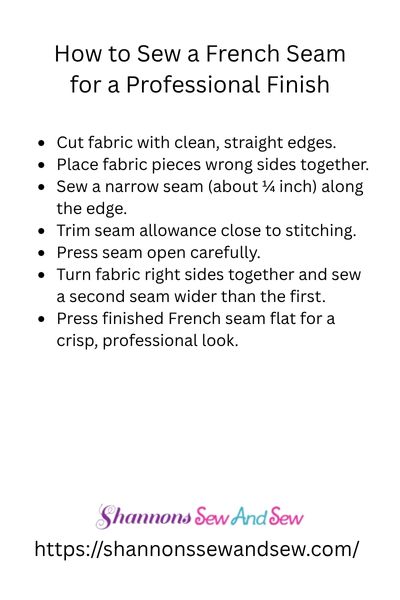
First, sew a narrow seam (usually about 1/4 inch) with the wrong sides of your fabric facing each other. Then trim that seam down slightly—just a smidge, like 1/8 inch. This helps keep the next part nice and tidy.
Next, flip the fabric so the right sides are now together. Press that seam flat like your life depends on it. (Okay, not really—but it does make a difference.) Then, sew another seam—this time a bit wider, about 3/8 inch—encasing the raw edges inside. Give it another press, and boom. You’ve just sewn a French seam.
Little Tips That Make a Big Difference
Okay, so you know how to sew a French seam for a professional finish now, but let’s talk finesse.
If you’re working with slippery fabrics like silk, pins are your best friend. Use lots of them. I mean, go pin-crazy. And always, always press between steps. I used to skip the ironing part and wonder why my seams looked bulky. Turns out, the iron is like a magic wand—wave it right and your project transforms.
Also, watch your seam allowances. French seams work best when you plan them from the start. If your pattern calls for a 5/8” seam allowance, just split that between the two steps—1/4” first, 3/8” second. That way, everything still fits perfectly.
And hey, mistakes happen. I once sewed a whole side seam with the wrong measurement and had to unpick silk. Not fun. But even those mess-ups teach you something.
Where Should You Use French Seams?
Anywhere you want that clean, polished look. I use them on shirts, dresses, pillowcases, even some lightweight curtains. My personal favorite? Men’s shirts. Yep, French seams on the inside make a shirt look expensive—without spending big bucks.
I had a friend who didn’t believe I made his birthday shirt until I showed him the label (which I also made, thank you very much). It was the seams that fooled him. French seams just have that effect.
Sewing French Seams Made Simple and Stylish
So there you have it—how to sew a French seam for a professional finish without pulling your hair out. It’s one of those tricks that’s super easy once you try it, but looks like you’ve been sewing for decades.
And let me tell you, there’s something ridiculously satisfying about flipping a garment inside out and seeing nothing but smooth, clean seams. No raw threads. No mess. Just chef’s kiss perfection.
So next time you’re sewing something lightweight, give the French seam a shot. You might just fall in love with the process—and the results. Got questions? Drop ’em below—I love chatting with fellow sewing nerds (or newbies). Happy stitching!

Beginners Guide to Setting Up Your Sewing Machine

How to Sew a Drawstring Bag: Beginner Project

How to Sew a Shirred Garment with Elastic Thread

Sewing Smocked Garments: Techniques and Tips

How to Sew a Basic Fabric Coaster for Beginners

Sewing Tunic Tops and Dresses: Styles and Patterns

Sewing Pleated Garments: Techniques and Styles

How to Sew a Peplum Top or Dress

Sewing Formal Wear: Gowns, Tuxedos, and Suits

Sewing Basics for Men’s Clothing: Shirts, Pants, and Jackets

Sewing with Lace: Techniques for Clean and Elegant Finishes

How to Sew a Professional Waistband on Skirts and Pants

Sewing Winter Accessories: Hats, Gloves, and Scarves

Sewing with Sheer and Lightweight Fabrics

Sewing Sustainable Fashion: Upcycling and Repurposing Textiles

Sewing Vintage-Inspired Clothing: Patterns and Techniques

Sewing Costumes for Cosplay, Theater, and Special Events

Sewing Adaptive and Inclusive Clothing for Various Needs

Sewing Children’s Clothing: Patterns, Sizing, and Tips
