Sewing For Beginners
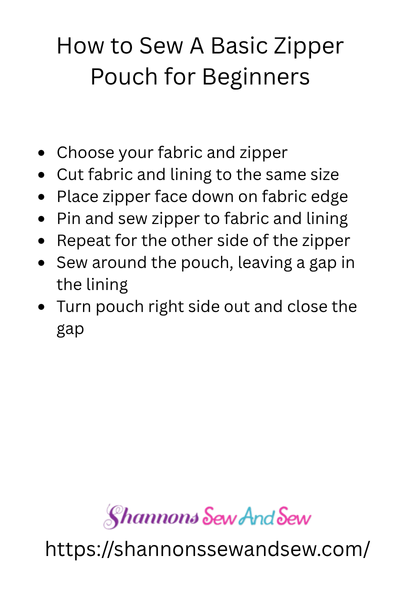
How to Sew a Basic Zipper Pouch for Beginners
If you’ve ever wanted to try your hand at sewing but didn’t know where to start, a zipper pouch is a perfect beginner project. It’s simple, useful, and once you’re done, you’ll feel accomplished! So let’s dive into how to sew a basic zipper pouch for beginners.
Read More About How to Sew a Basic Zipper Pouch for Beginners

Let’s Get This Zipper Pouch Party Started!
Now, I know what you might be thinking—“Zippers? Aren’t they tricky?” Trust me, I was there once! But once you break down the steps and get a little practice, sewing a zipper isn’t as intimidating as it seems. I remember the first time I sewed a pouch with a zipper—my hands were shaking, and I was sure I’d mess it up. But I didn’t, and I was hooked!
A zipper pouch is a great way to practice sewing straight lines, working with zippers, and creating a fun, practical project. Ready? Let’s get into it!
More Things to Know About How to Sew a Basic Zipper Pouch for Beginners

What You’ll Need
Before you start sewing, make sure you’ve got everything you need. Here’s what you’ll want:
- Fabric (two pieces of the same size, about 9×5 inches each)
- A zipper (around 7 inches is perfect for this size pouch)
- Sewing machine (don’t worry, it’s not as scary as it looks!)
- Thread (match the fabric, but don’t stress too much about it)
- Scissors
- Pins or fabric clips
- Iron and ironing board (trust me, pressing your fabric makes everything easier)
I like to pick out a fun, bold fabric for projects like these—it’s a little thing that makes the process so much more enjoyable.
Step 1: Prepare Your Fabric
First, lay your fabric flat. Make sure to press it with an iron to get out any creases. You don’t want to be sewing a bunch of wrinkles into your pouch, trust me.
Once it’s all pressed, place the two pieces of fabric right sides together. That’s the “pretty” sides facing in toward each other. Pin or clip along the edges to hold them in place. We’ll be sewing around the edges, but leave a small gap for turning it inside out later.
Step 2: Attach the Zipper
Okay, now comes the fun part—the zipper. Start by pinning the zipper to the edge of one of your fabric pieces. The zipper should align with the top edge of the fabric. One side of the zipper will go on the right side of the fabric, and the other side will be pinned to the other fabric piece.
Now, when you’re sewing this step, you might want to use your zipper foot (most sewing machines come with one). This makes sewing close to the zipper teeth a lot easier. Sew along the edge, keeping the zipper as close as possible. Don’t worry if you’re sewing slowly—that’s totally okay. Take your time!
Pro Tip: Don’t sew over the zipper pull—this can break your needle! If you get too close, just lift the presser foot and move the pull out of the way.
Step 3: Sew the Other Side
Once you’ve sewn the first side of the zipper, repeat the process on the other side of the zipper with your second fabric piece. Now, when you’re done, you should have a zipper sandwiched between two pieces of fabric.
Don’t rush through this step—getting the zipper aligned just right will make the whole pouch look way more professional. Trust me, I’ve learned this the hard way, especially when I was trying to make my first pouch. I got impatient and ended up with a zipper that didn’t close all the way… not ideal.
Step 4: Sew Around the Edges
Now that your zipper is in place, it’s time to sew around the entire pouch. This is where the magic happens! Before sewing, make sure to unzip the zipper about halfway—that way, you’ll be able to turn the pouch right side out after we’re done.
Starting at one corner, sew all the way around the pouch, leaving a small gap (about 2 inches) open along the bottom for turning the pouch inside out. You’ll want to backstitch at the beginning and end to keep your stitches secure.
Step 5: Turning It Inside Out
This is my favorite part—the moment when you finally get to see your work coming together! Carefully turn the pouch inside out through the small opening you left at the bottom. Push out the corners with something pointy (but not too sharp, or you might poke a hole).
Once it’s all turned out, press it with an iron to make it look neat and crisp. This step really makes your pouch look professional, even if it’s your first one!
Step 6: Close the Opening
The last step is to sew up that small gap you left for turning. You can either hand-sew it closed with a slip stitch or sew it on your machine if you want a quick finish. Either way, be sure to give it a final press with the iron to make everything look nice.
And Voilà! You’ve Made a Zipper Pouch!
Congrats, you did it! Sewing a basic zipper pouch for beginners doesn’t have to be complicated. In fact, once you get the hang of it, you’ll be making pouches for gifts, organization, and even as little accessories for yourself.
I can’t tell you how satisfying it is to see something functional and cute come to life with just a little fabric and thread. And don’t worry—if the first one isn’t perfect, just keep going! I still have a few zipper pouches with slightly lopsided zippers in my sewing room.
Final Thoughts on How to Sew a Basic Zipper Pouch for Beginners
Whether you’re a beginner or you’ve been sewing for years, making a zipper pouch is a great way to practice your skills and create something useful. With just a few supplies and a little patience, you’ll have your very own handmade pouch in no time. And who knows? You might even get hooked on making more—just like I did!


