Sewing Tips
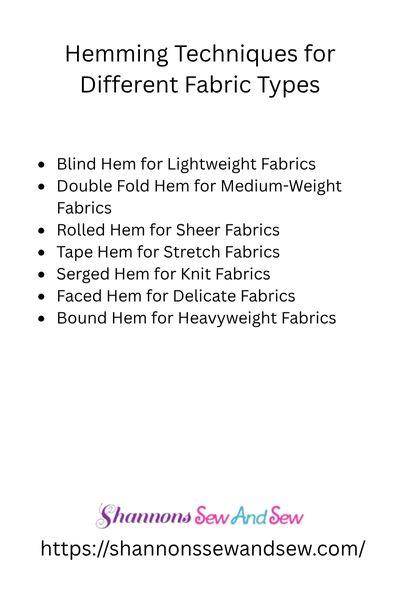
Hemming Techniques for Different Fabric Types
Have you ever struggled with hemming a tricky fabric? Maybe you’ve tried to hem a delicate silk blouse and ended up with puckering, or perhaps your denim hems look more like a toddler’s art project than a clean finish. Trust me, I’ve been there! Hemming isn’t a one-size-fits-all skill—different fabrics require different techniques. But don’t worry, I’ve got you covered. Let’s dive into the world of hemming techniques for different fabric types.
Read More About Hemming Techniques for Different Fabric Types
Cotton: The Beginner’s Best Friend
If you’re new to hemming, cotton is your best bet. It’s stable, easy to press, and doesn’t fray like crazy. For a basic hem, fold the fabric twice, press it down, and stitch close to the edge. Easy, right? But if you want a professional touch, try a blind hem stitch—it gives you a nearly invisible finish.
More Things to Know About Hemming Techniques for Different Fabric Types
My Cotton Hemming Fail (and Lesson Learned)
I once tried to hem a cotton curtain without pressing it first. Big mistake! My stitches went wonky, and the hem looked uneven. Lesson learned: always press your folds before sewing!
Silk and Chiffon: The Divas of the Fabric World
Ah, silk and chiffon—so gorgeous, yet so fussy. These slippery fabrics love to fray, shift, and generally misbehave. The best hemming technique? A narrow rolled hem. You can do it by hand, with a machine foot, or even with a serger if you’re fancy like that.
Here’s a trick: use spray starch to give the fabric a little body before hemming. It helps keep things under control and makes sewing way less stressful.
Denim: Tough Love Required
Denim hems need durability. You don’t want your jeans falling apart after one wash! The go-to hemming technique? A double-fold hem with a thick topstitch. Use a denim needle (trust me, your machine will thank you) and heavy-duty thread.
Ever heard of the ‘original hem’ technique? It keeps that factory-finished look by reattaching the original hem. Perfect for shortening jeans without making them look altered.
Knits: Stretch It Out, But Not Too Much!
Knits can be tricky. Pull too much, and you’ll get wavy hems. Don’t stretch enough, and the stitches might pop. The best approach? A twin needle hem or a zigzag stitch. Both allow for stretch while keeping the hem neat.
Pro tip: Use a walking foot to prevent the fabric from stretching unevenly. It’s a game-changer!
Leather and Faux Leather: No Pins Allowed
Leather is not your typical fabric—it doesn’t fray, but you can’t just fold and stitch like usual. Instead, use a leather adhesive or double-sided tape to hold the hem in place before stitching. And whatever you do, avoid using pins! They’ll leave permanent holes. Instead, use clips or even binder clips if you’re in a pinch.
Wool: Warm and Fuzzy, But Tricky
Wool is thick, warm, and wonderful—but it can be bulky at the hem. To avoid a lumpy mess, try a catch stitch for an invisible finish. It secures the hem without adding unnecessary bulk. And don’t forget to press with steam! Wool loves a good steam press.
Final Thoughts on Hemming Techniques for Different Fabric Types
Hemming doesn’t have to be a headache. Whether you’re working with delicate silk, tough denim, or stretchy knits, there’s a hemming technique that works for each fabric type. The secret? Practice, patience, and a few good tricks up your sleeve.
Got a hemming horror story or a favorite technique? Share it with me—I’d love to hear about your sewing adventures

Beginners Guide to Setting Up Your Sewing Machine

How to Sew a Drawstring Bag: Beginner Project

How to Sew a Shirred Garment with Elastic Thread

Sewing Smocked Garments: Techniques and Tips

How to Sew a Basic Fabric Coaster for Beginners

Sewing Tunic Tops and Dresses: Styles and Patterns

Sewing Pleated Garments: Techniques and Styles

How to Sew a Peplum Top or Dress

Sewing Formal Wear: Gowns, Tuxedos, and Suits

Sewing Basics for Men’s Clothing: Shirts, Pants, and Jackets

Sewing with Lace: Techniques for Clean and Elegant Finishes

How to Sew a Professional Waistband on Skirts and Pants

Sewing Winter Accessories: Hats, Gloves, and Scarves

Sewing with Sheer and Lightweight Fabrics

Sewing Sustainable Fashion: Upcycling and Repurposing Textiles

Sewing Vintage-Inspired Clothing: Patterns and Techniques

Sewing Costumes for Cosplay, Theater, and Special Events

Sewing Adaptive and Inclusive Clothing for Various Needs

Sewing Children’s Clothing: Patterns, Sizing, and Tips
