Quilting
Sewing Tips For Your Handmade Quilt
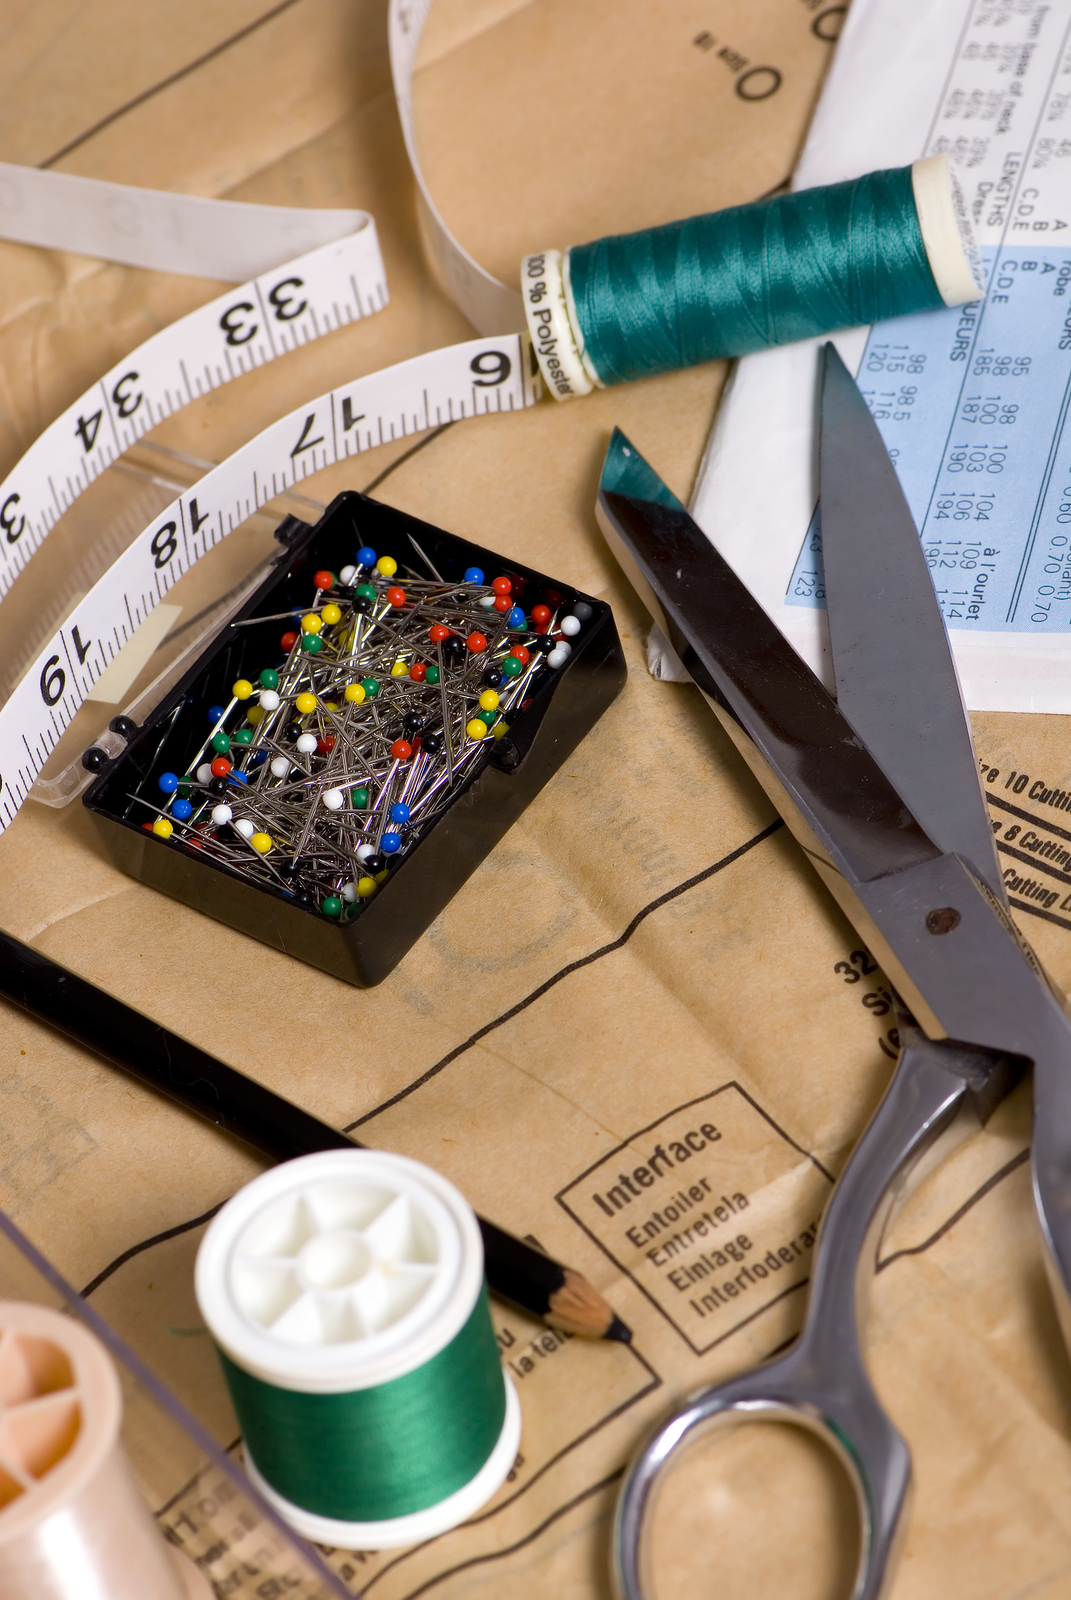
Once you have decided on a pattern, the colors and the fabric, it’s time to cut out all the pieces for your handmade quilt. Once you start sewing all the pieces together for creating your quilt top, you will begin to envision the finished product making you eager to continue working on it.
This post contains affiliate links, please read my full disclosure here. I only recommend products that I myself use or would use.

The quality of the work you do as you progress will ensure that it turns out like you want it to. It requires precision and care when sewing all the pieces together.
By following these simple steps, you can be assured that your quilt top will be beautiful and that the finished product will make you proud. It’s essential that when you use a pattern that you follow all the directions carefully.
If you are dealing with a quilt that has different shapes and sized quilt pieces, this is especially important.
If at all possible, lay out all the pieces on a large table or the floor in the pattern that you are going to be sewing them. You can then get a good idea of how all the colors and patterns should look in the finished quilt.

When making smaller pieces into bigger blocks to sew them together, you should lay those blocks out on the table or floor too. You can then rearrange them into whatever pattern you like.
When you are making your own quilt, one of the fun things about it is that you can decide how you want it to look.

If the pattern is complicated or you don’t want to forget, you can number everything with a sticky note so that you don’t forget where you are once you begin sewing them.

Start on one side and go the whole way over
You should always start either at the top or the bottom and sew the complete row together before going to the next section or row.

If you don’t want your quilt to turn out lopsided or uneven, you must be sure that you use exactly the same seam allowance on the entire quilt.
The most common seam allowance used is 3/8 inches. If you are using a pattern, be sure to check this.
If your sewing machine does not have seam allowance markings, you will need to be sure the needle is in the down position.
Carefully measure from the needle to find the correct allowance. You can use a piece of masking tape to mark the fabric while sewing as well.

Iron the hem to make it easier to sew
You should always press the seams of the patchwork before sewing the rows together. Be sure that you are ironing the seam in the correct direction.
Most quilters will press the seams to one side to prevent what are known as loft bumps from happening. Plus, if you press the seams open, it can cause the fabric to stretch at the bottom and the top of the seam.
This makes it hard to line them up when sewing two rows together. To prevent the quilt from bulking up at the seams, you can iron the seams of every other row in an opposite direction.
This is known as nesting and can keep the quilt top from becoming too bulking in these areas.

When you have cut and sewn your quilt pieces together properly, you can be assured that you will have a beautifully crafted quilt with the seams being perfectly aligned. When you finish a quilt that is put together perfectly, you will feel proud and satisfied from a job that was well done.


Beginners Guide to Setting Up Your Sewing Machine

How to Sew a Drawstring Bag: Beginner Project

How to Sew a Shirred Garment with Elastic Thread

Sewing Smocked Garments: Techniques and Tips

How to Sew a Basic Fabric Coaster for Beginners

Sewing Tunic Tops and Dresses: Styles and Patterns

Sewing Pleated Garments: Techniques and Styles

How to Sew a Peplum Top or Dress

Sewing Formal Wear: Gowns, Tuxedos, and Suits

Sewing Basics for Men’s Clothing: Shirts, Pants, and Jackets

Sewing with Lace: Techniques for Clean and Elegant Finishes

How to Sew a Professional Waistband on Skirts and Pants

Sewing Winter Accessories: Hats, Gloves, and Scarves

Sewing with Sheer and Lightweight Fabrics

Sewing Sustainable Fashion: Upcycling and Repurposing Textiles

Sewing Vintage-Inspired Clothing: Patterns and Techniques

Sewing Costumes for Cosplay, Theater, and Special Events

Sewing Adaptive and Inclusive Clothing for Various Needs

Sewing Children’s Clothing: Patterns, Sizing, and Tips
