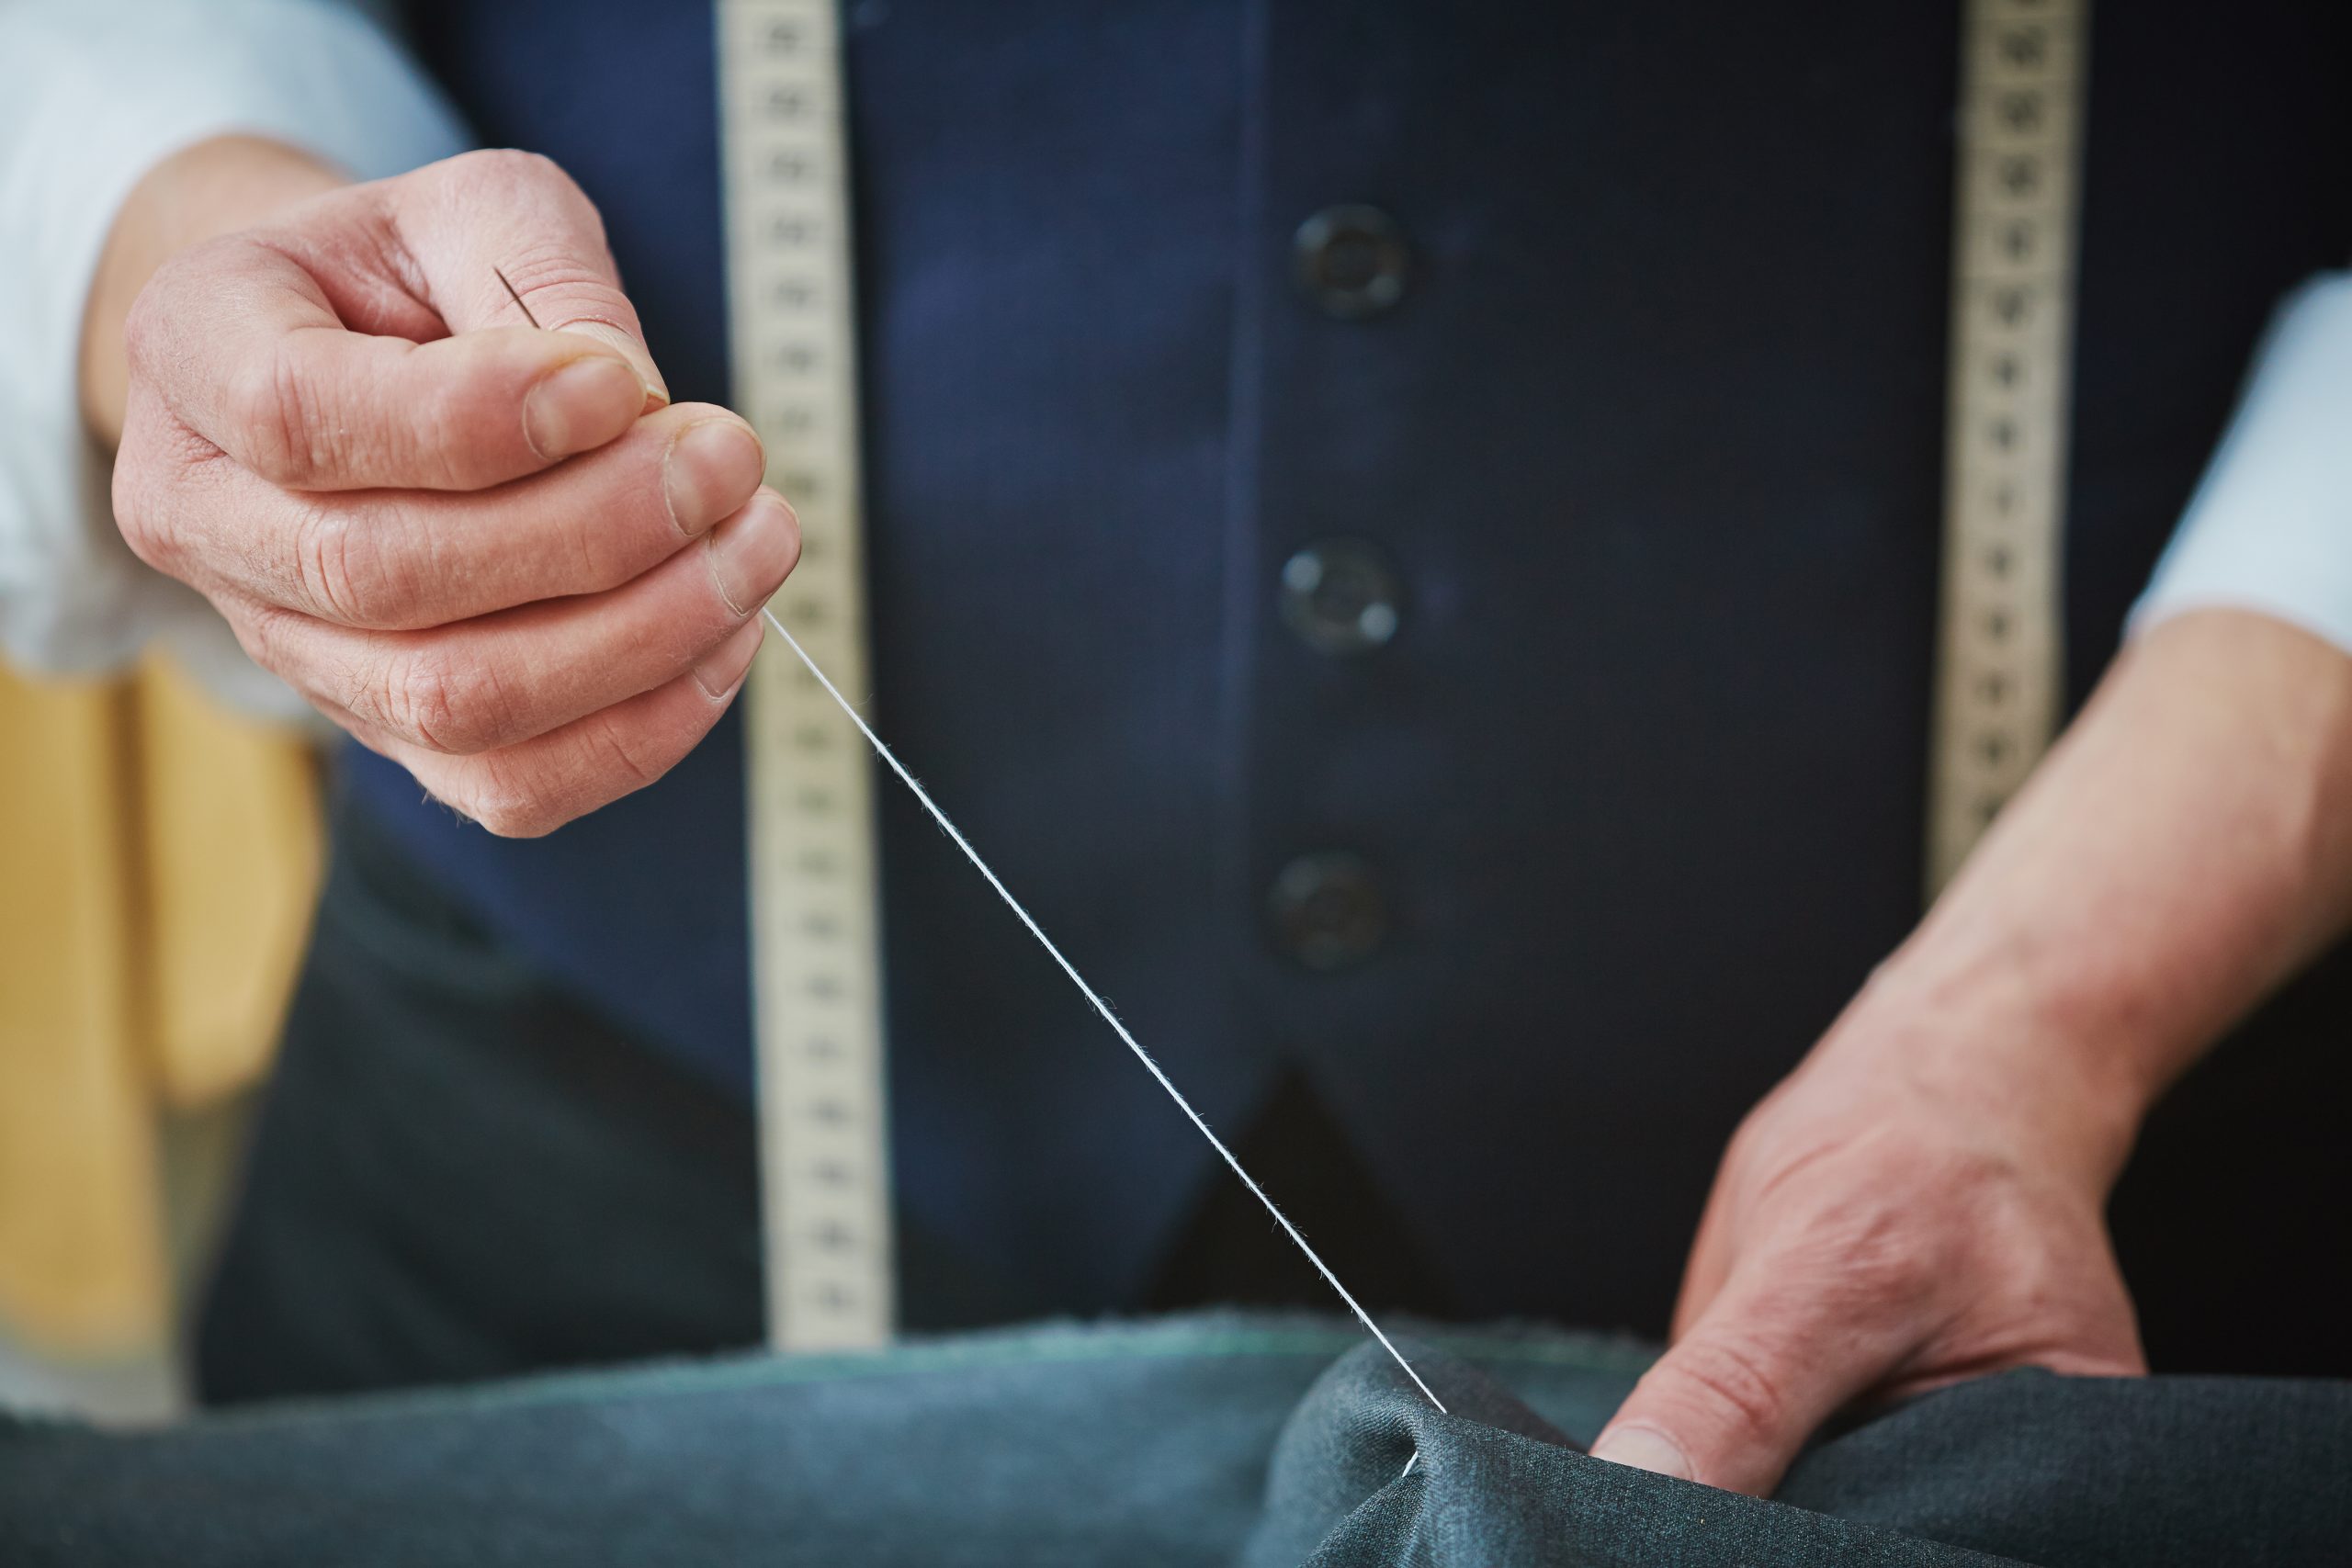
Hand Sewing
How To Hand Sew – The Basics
Knowing how to hand sew is one of the basic skills that every person should achieve. It helps make simple repairs to clothing and other fabric items and allows for small or basic alterations.
First and foremost, you need the basic tools:
- A sewing needle
- Thread
- Scissors
- Fabric
Additional tools that can ease the learning process include:
- Pins to hold the fabric in place while sewing.
- Removable fabric markers or dressmaker’s chalk to provide a guide on where to sew.
- A thimble to protect your forefinger against pricks.
- A stitch picker to undo stitches easily.
Cut a piece of thread about 30 cm (12 inches in length. Hold the tip of one end of the thread between the thumb and forefinger of your left hand if you are right-handed and vice versa if you are left-handed. Push the tip through the eye (hole) of the needle and pull the thread through for about 5 cm (2 inches).
Take the longer piece of thread and make a loop near the end. Place the tip of the thread through the loop and pull to create a knot as close to the end as possible. This will stop your thread from pulling through the fabric as you make your first stitches.
Place the two ends of the fabric you want to sew together. You can use pins to keep it in place and mark the line you want to sew with fabric markers. Pierce through both pieces of fabric with the sharp end of the needle and pull the thread through gently until it reaches the knot.
Pierce the fabric again about 3 mm from the original point of entry and pull the thread through to create the first stitch. Be careful to be gentle and avoid pulling the knot through the fabric. You can make your stitches as long or short as you wish. Shorter stitches are, however, preferable as they are more secure and provide a stronger seam.
Repeat this process, going through the original entry point and the second piercing four or five times. This will give you a secure starting point less likely to unravel.
Now pierce the fabric 3 mm from the end of your first stitch and then again as near as possible to the end of your last stitch and pull the thread through. This is called a back stitch and is preferred for seams and most other types of sewing.
Repeat the process always progressing the same length as your previous stitches and ending at the end of your last stitch until you have reached the end of your fabric or thread.
Go over your last stitch like your first to secure the end of your sewing. Place the end of the needle under the end stitches, create a loop in the thread and pull the needle through to make a knot. Cut the thread, and voila – you now know how to hand sew.

Beginners Guide to Setting Up Your Sewing Machine

How to Sew a Drawstring Bag: Beginner Project

How to Sew a Shirred Garment with Elastic Thread

Sewing Smocked Garments: Techniques and Tips

How to Sew a Basic Fabric Coaster for Beginners

Sewing Tunic Tops and Dresses: Styles and Patterns

Sewing Pleated Garments: Techniques and Styles

How to Sew a Peplum Top or Dress

Sewing Formal Wear: Gowns, Tuxedos, and Suits

Sewing Basics for Men’s Clothing: Shirts, Pants, and Jackets

Sewing with Lace: Techniques for Clean and Elegant Finishes

How to Sew a Professional Waistband on Skirts and Pants

Sewing Winter Accessories: Hats, Gloves, and Scarves

Sewing with Sheer and Lightweight Fabrics

Sewing Sustainable Fashion: Upcycling and Repurposing Textiles

Sewing Vintage-Inspired Clothing: Patterns and Techniques

Sewing Costumes for Cosplay, Theater, and Special Events

Sewing Adaptive and Inclusive Clothing for Various Needs

Sewing Children’s Clothing: Patterns, Sizing, and Tips
