Hand Sewing
How To Hand Sew – The Basics
Knowing how to hand sew is one of the basic skills that every person should achieve. It helps make simple repairs to clothing and other fabric items and allows for small or basic alterations.
First and foremost, you need the basic tools:
- A sewing needle
- Thread
- Scissors
- Fabric
Additional tools that can ease the learning process include:
- Pins to hold the fabric in place while sewing.
- Removable fabric markers or dressmaker’s chalk to provide a guide on where to sew.
- A thimble to protect your forefinger against pricks.
- A stitch picker to undo stitches easily.
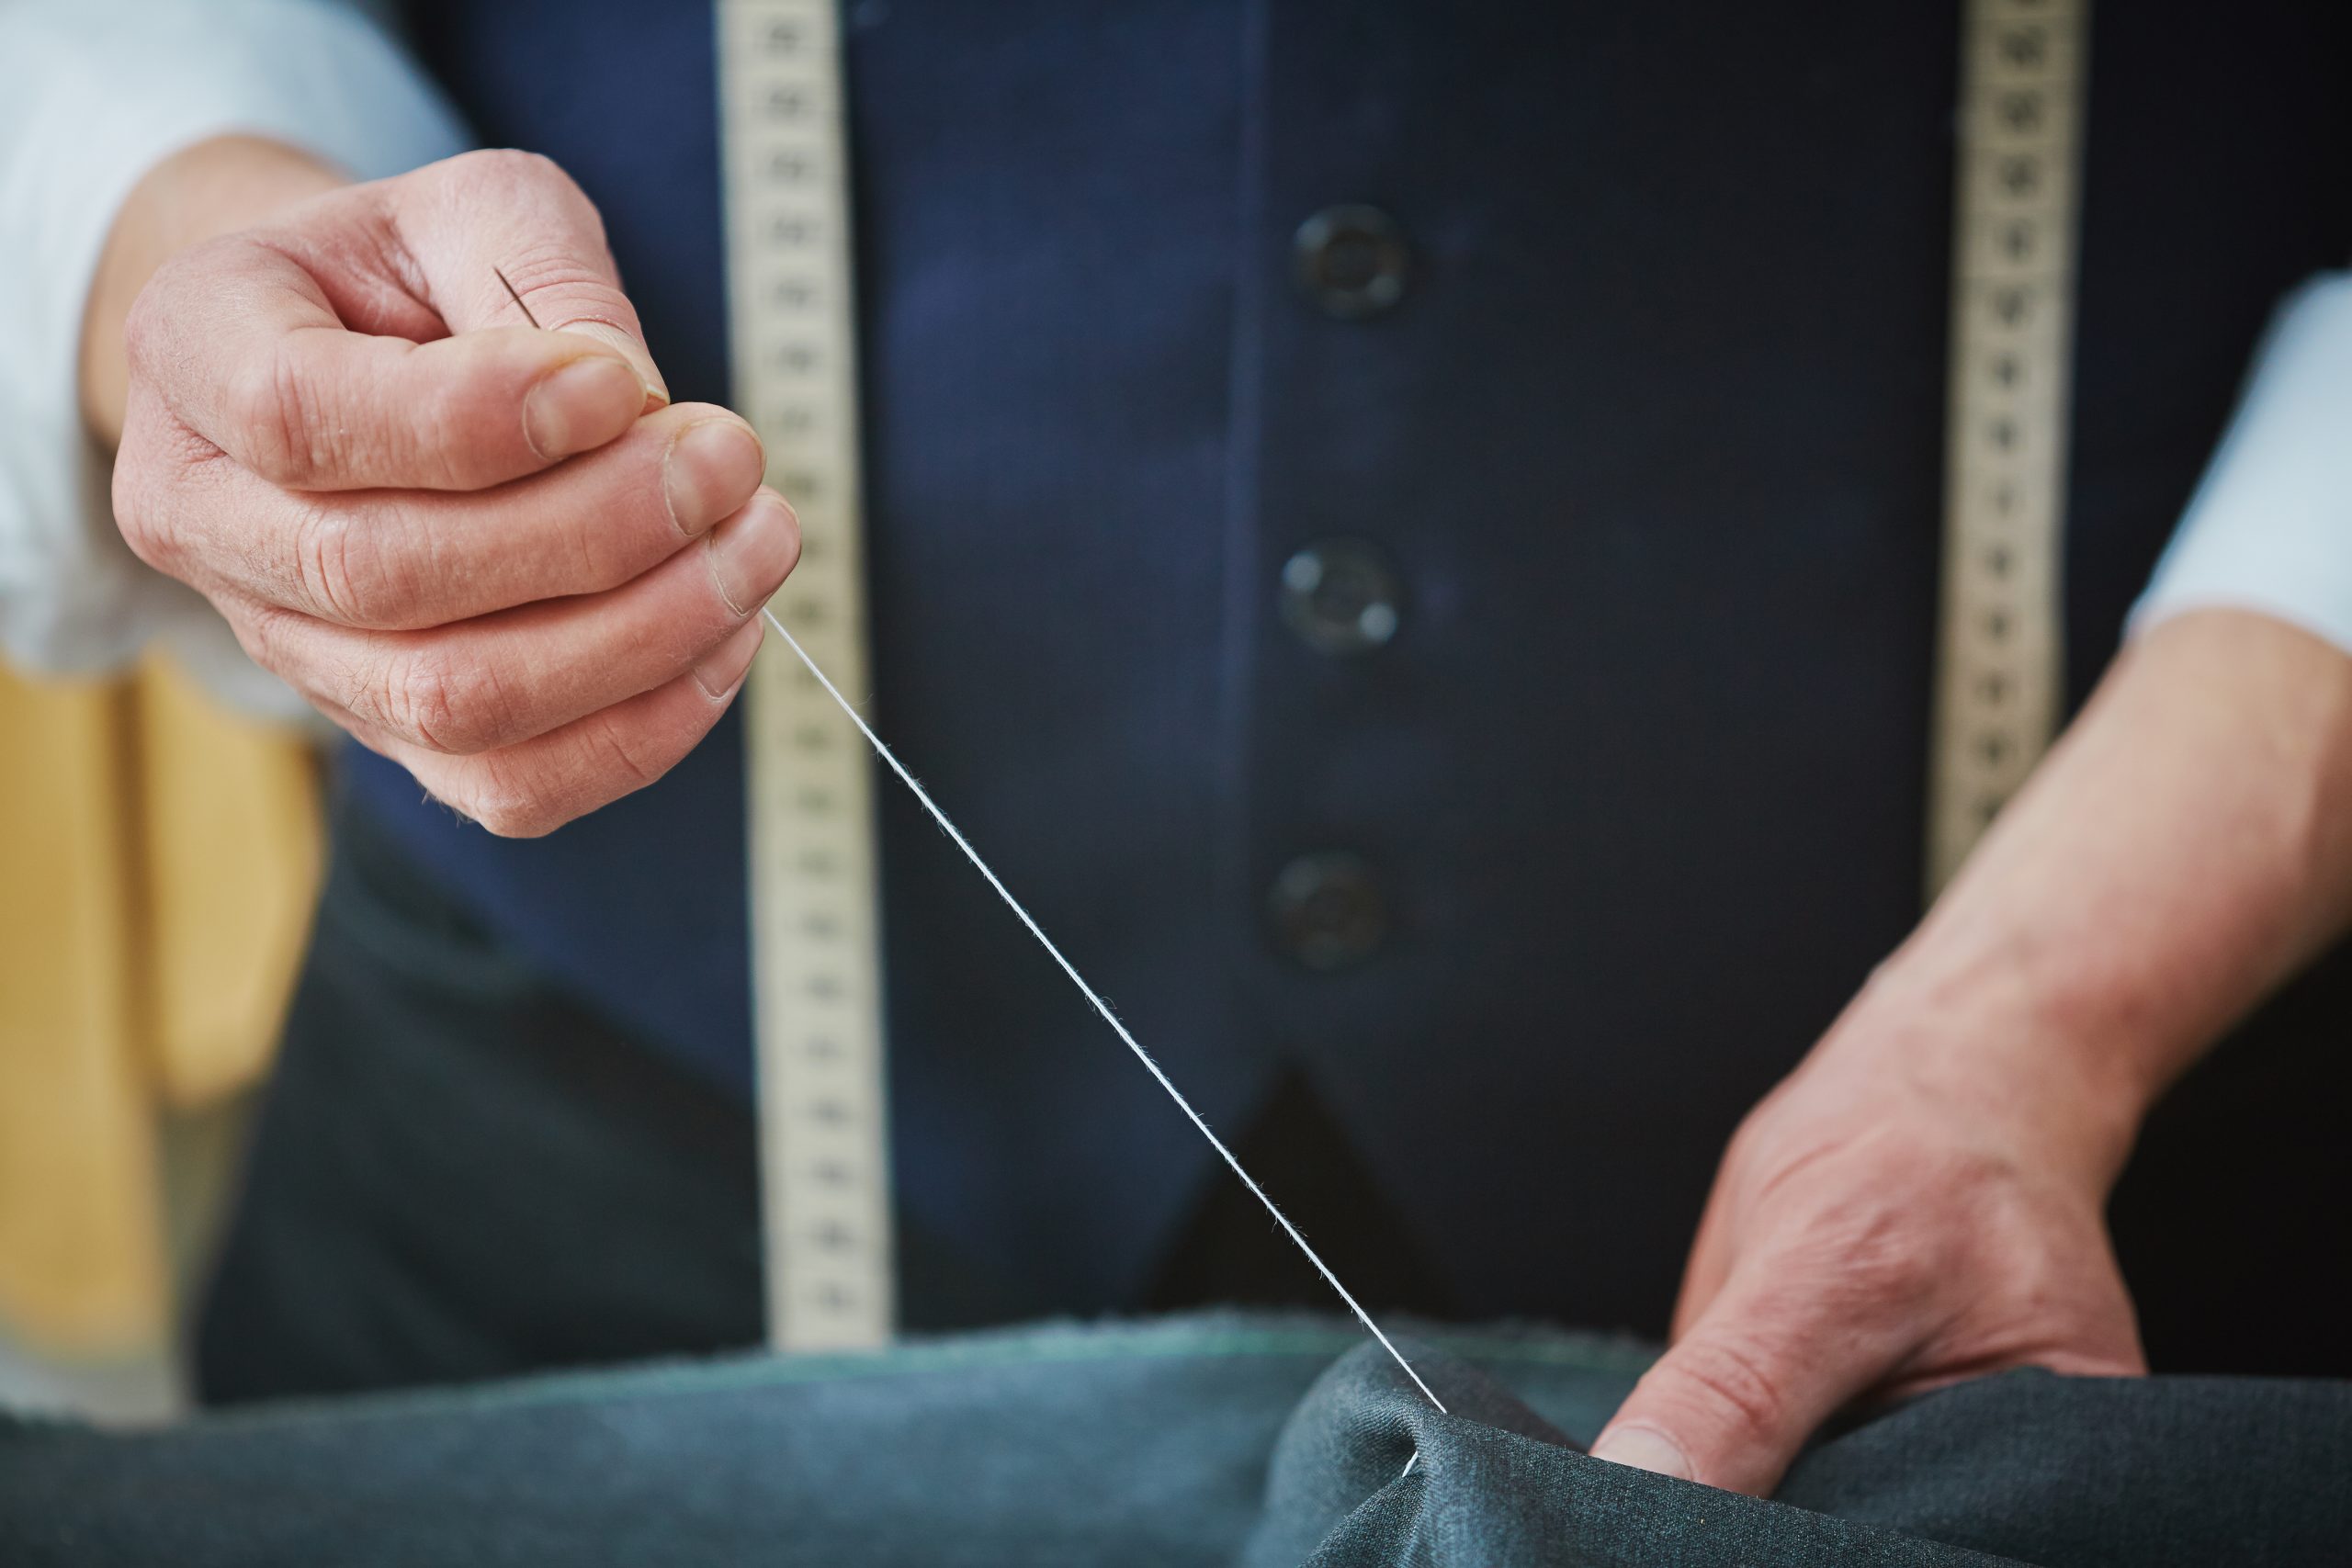
Cut a piece of thread about 30 cm (12 inches in length. Hold the tip of one end of the thread between the thumb and forefinger of your left hand if you are right-handed and vice versa if you are left-handed. Push the tip through the eye (hole) of the needle and pull the thread through for about 5 cm (2 inches).
Take the longer piece of thread and make a loop near the end. Place the tip of the thread through the loop and pull to create a knot as close to the end as possible. This will stop your thread from pulling through the fabric as you make your first stitches.
Place the two ends of the fabric you want to sew together. You can use pins to keep it in place and mark the line you want to sew with fabric markers. Pierce through both pieces of fabric with the sharp end of the needle and pull the thread through gently until it reaches the knot.
Pierce the fabric again about 3 mm from the original point of entry and pull the thread through to create the first stitch. Be careful to be gentle and avoid pulling the knot through the fabric. You can make your stitches as long or short as you wish. Shorter stitches are, however, preferable as they are more secure and provide a stronger seam.
Repeat this process, going through the original entry point and the second piercing four or five times. This will give you a secure starting point less likely to unravel.
Now pierce the fabric 3 mm from the end of your first stitch and then again as near as possible to the end of your last stitch and pull the thread through. This is called a back stitch and is preferred for seams and most other types of sewing.
Repeat the process always progressing the same length as your previous stitches and ending at the end of your last stitch until you have reached the end of your fabric or thread.
Go over your last stitch like your first to secure the end of your sewing. Place the end of the needle under the end stitches, create a loop in the thread and pull the needle through to make a knot. Cut the thread, and voila – you now know how to hand sew.
Hand-sewing leather patches on jeans can be a great way to add personality. You can find leather patches in the shapes of letters, animals, and other cool designs; this is a great way to express your creativity.
The available designs are limitless. Anyone interested in doing this can easily find thousands of different patterns and interesting ideas online by visiting a number of forums, social groups or websites that specifically cater to creative sewing enthusiasts.
There are a few very important things about sewing leather you will need to know before attempting to attach a leather patch to your jeans.
Though such a project does not seem like it would be extremely dangerous, a few safety precautions must be taken to avoid any small mishaps that can turn into big problems.

Safety First
Sometimes, a project such as this will only require the use of dull stitching needles, which can damage your fingers or other parts of your body if enough force is exerted. In a case such as this, there is less of an injury concern as long as you pay close attention and focus on what you are doing.
On the other hand, no pun intended, careless use of sharp needles can result in several physical injuries ranging from irritating finger pricks to infections if the needles are dirty.
Safety concerns about using scissors to cut threads and materials for your project are self-explanatory. Cutting, stabbing yourself or losing a finger would very quickly zap the joy out of your project. Need we say any more about this?
What Tools Do You Need?
We will now look at some of the considerations and some of the items you will need to add leather patches.
Choose The Right Thickness of Leather
Choosing the right thickness and flexibility of your leather is very important because it will need to be bendable, twist-able and even scrunch-able throughout the life of your garment.
Another thing to consider about the thickness and rigidity of your leather is how difficult it will be for you to poke and pull a needle through it.
Use The Correct Thread
The thread that you use must be much more durable and longer lasting than the thread that is commonly used around the household for repairing holes in socks and such. If you can visit a hobby store or leather outlet to purchase the proper materials for your awesome project, that is highly recommended.
Use A Needle Designed For Leather
Leather needles come in a variety of sizes so that you can choose one or more that is easy to handle. They also come in different lengths and shapes to complete specific projects.
Though it is possible to use some of the needles designed for more standard materials, such as cotton and polyester, it would be a little wiser to use a set of needles designed for leather projects.
Have fun expressing yourself, and for goodness’ sake, please be safe.
Using leather to make handmade items can take a while to master. Whether you plan to use real leather or one of the available faux options, you will find the following advice on how to sew leather quite helpful.
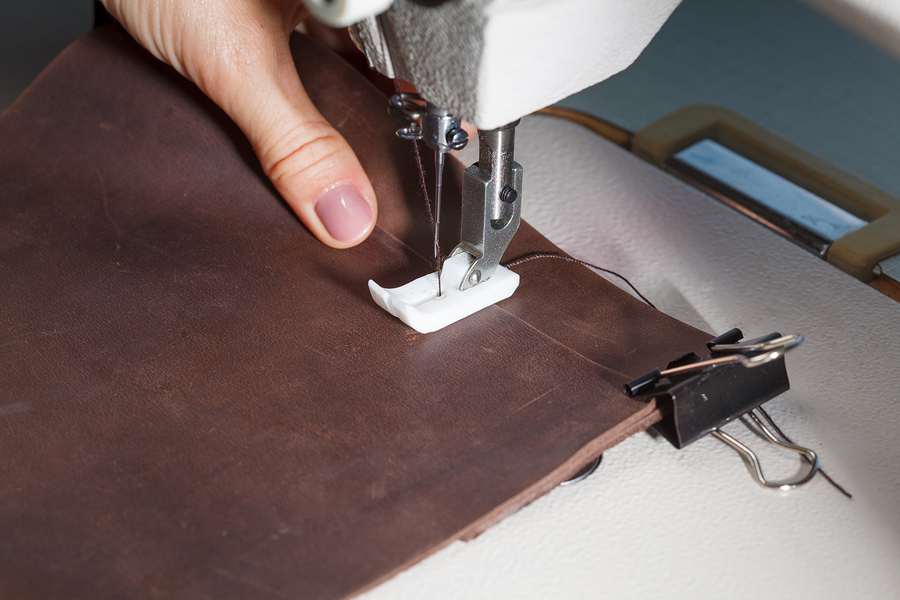
1. Don’t Use Pins
Most people prefer to use pins to hold the fabric in place when sewing. While this is fine when working with many materials, it is not a good idea when dealing with leather.
Placing pins will leave holes that don’t close once they are removed. It would be better to use clothespins, tape or paper clips to hold things in place.
2. Do Fitting Ahead Of Time
You can do fittings a few times when sewing on standard fabric; however, this is not the case regarding leather. Every time you create a stitch, it will leave a hole, so there is no way to make alterations once a stitch has been made.
3. Choose The Right Needle
Some sewing needles are made for use with specific fabrics, and leather should use a needle designed specifically for sewing on it. When you are shopping for needles, make sure that you place these at the top of your list.
If you try using a standard needle when sewing leather, there is a possibility that it can bend or break when trying to force the needle through the fabric.
Remember that threading leather needles is a bit more involved than doing so with a traditional needle. It may take you a few tries to master it, so be patient.
4. Practice Your Stitching
As explained earlier, once you create stitches in leather, there is no way to redo them so they have to be done perfectly the first time.
If you are worried about messing things up, grab some scraps and practice your stitches beforehand.
Once you see that you can sew without mistakes, then you can move on to the leather you purchased for your project.
Again, this will take a bit of patience, but this is one of those cases where everything has to be done right the first time.
5. Place Markings On The Wrong Side
When sewing with a pattern, make sure you place all markings on the side of the leather that will not show when the piece is complete.
It’s important to note, marking wheels and transfer tape are not ideal when working with leather. Tailor’s chalk and marking pens are much better options.
Learning how to sew leather can be tricky, especially if you are not familiar with it. Use these tips to learn and find some scrap leather to practice on first.

Fun And Easy Sewing Projects For Kids

How To Sew A Shirt In Several Simple Steps

Hand Sewing Leather Patches On Jeans

Top 10 Sewing Hacks

What Is Backstitching And Why Should I do It?

How To Set Up Your Sewing Area For Maximum Efficiency

Mastering These Basics Will Quickly Advance Your Skill Level

4 Tips When Looking For Vintage Patterns To Sew

Top 5 Reasons To Learn Sewing

How To Sew Leather: 5 Helpful Tips

How To Use A Sewing Machine Safely

Simple Sewing Projects You Can Complete In A Day Or Less

Know How to Hem Pants By Hand

Sewing Room Ideas For The Home Seamstress

The Benefits And Uses Of Free-Arm Sewing Machines

Essential Sewing Tools For Beginners

How To Sew On A Patch Onto A Leather Jacket

Finding Good Sewing Lessons Online

Mastering The Art Of Selling Handmade Items Online
