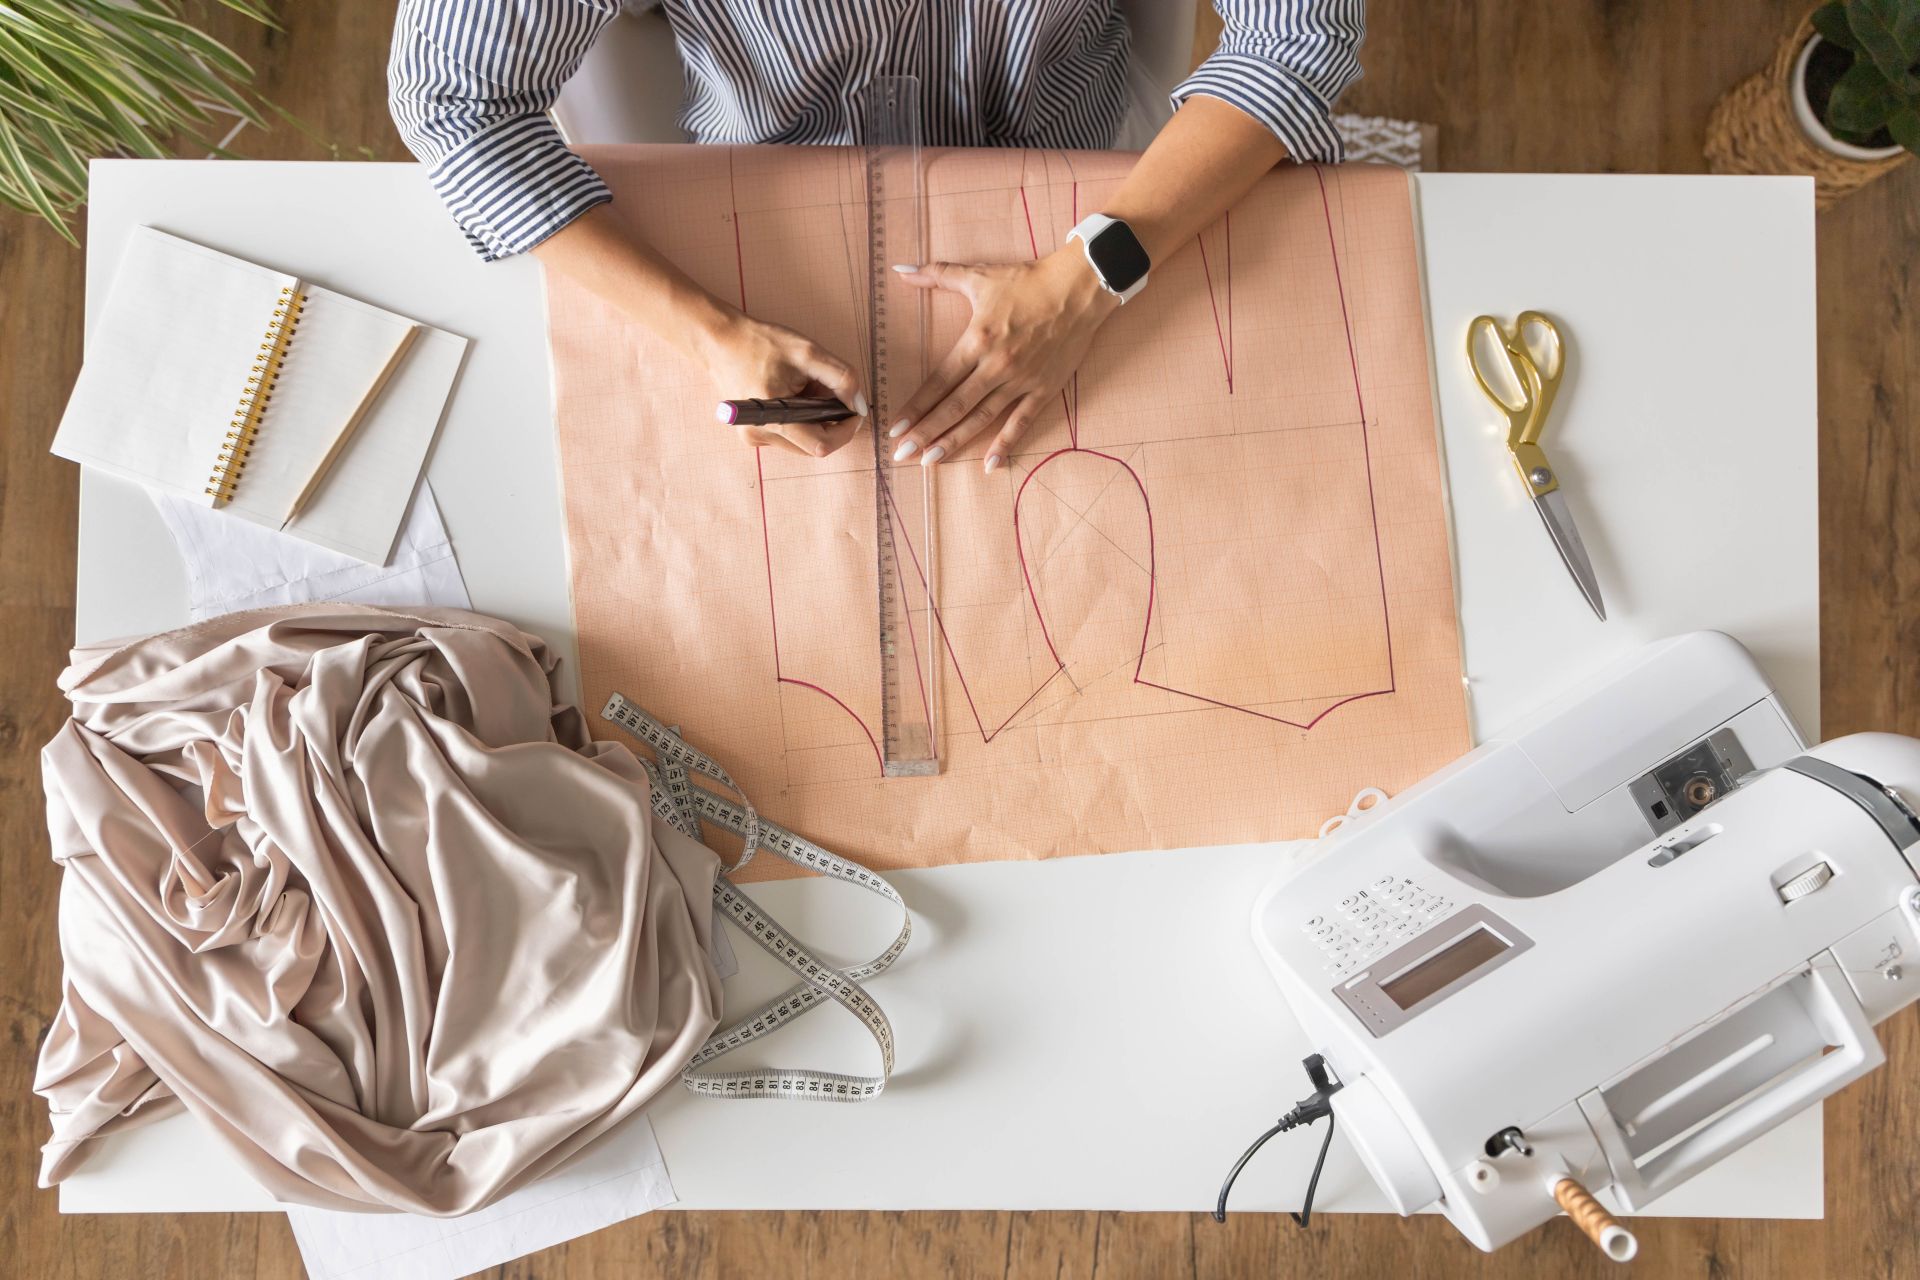
Sewing Tips
4 Tips When Looking For Vintage Patterns To Sew
Many people love working with vintage sewing patterns because they offer an avenue to learn about the styles of a particular era. If you’re included in this group, then you have probably looked for vintage patterns to sew and get started on your next project.
This is a great way to add a unique touch to your wardrobe without jumping from one dress shop to another. Sewing vintage patterns, however, can be a challenging task for both beginners and experienced sewers alike.
The following are some tips to remember when looking for vintage patterns.
Sizes Will Be Different Than Modern Sizes
Working with vintage patterns differs greatly from working with contemporary designs, particularly regarding size. You should always use measurements instead of a particular dress size when looking for vintage patterns.
The size 14 vintage dress differs greatly from a size 14 modern dress. You can always resize the dress, but the closer you are to the right size at the beginning, the less work you need to put into resizing.
Can Be More Complex And Difficult
Vintage patterns are known to be a lot more challenging to sew compared to their modern counterparts. On top of that, these patterns usually do not come with detailed instructions.
The number of videos you can find online about sewing vintage patterns is also relatively few. This means you must be extra careful when finding the pattern to use.
Be sure you do not bite off more than you can chew. If it’s your first attempt at using a pattern to create a sewing project, it’s better to start with a simple pattern and always keep a sewing book by your side so you can readily look for help when needed.
Pattern Markings
Modern patterns are easy to use because they are littered with printed guidelines. Vintage patterns are also printed, but they usually do not have as many guidelines, which means you need to be careful when sewing, or you can easily screw things up.
Perforations and notches are the only guides you will usually have when working with vintage sewing patterns. You have to focus on all the little holes and seam allowances particularly.
Shape and Fit
This is one of the biggest things you must consider when using a vintage pattern. Depending on the era of the pattern you are using, the shape and fit may vary a lot.
The best way to get the right shape and fit is to use a mock-up pattern. This involves making a calico toile. Head over to your local dress shop, and you should be able to buy calico at a low price.
Making a toile can save you a lot of time and money as you would increase your chances of getting things right the first time. Make sure you move around a lot with the mock-up pattern to get an idea of what it would be like once you transfer it to your pattern pieces.
These are some handy tips you should always remember when looking for vintage patterns to sew. Creating vintage designs can be fun and may be all you need to set your dress apart from the rest.


Sewing tips and hacks can make the lives of individuals who sew for a living or as a hobby much, much easier.
I will share ten important sewing hacks that can increase a person’s skills, keep things more organized and speed up the process.
1. Hand Stitching Guide
When looking for a way to sew hand stitches that are evenly spaced, use a sewing machine to machine-baste a straight line of the required stitches and then use these stitches as a guide for the hand stitching.
The stitch lengths should be set on the type of hand stitch chosen. Now, pull on a few machine stitches each time and hand sew, following the holes left behind.
Alternatively, the machine stitches can be left in place and pulled out once the hand sewing is complete. Machine stitches can serve as a guide for various hand stitches like herringbone stitch, top stitch, or blanket stitch.
2. Simplified Tailor’s Tack
Another technique for tailor’s tacks offers a way to hold threads more securely compared to the traditional methods. Once the pattern pieces are cut out, use unknotted contrasting doubled-thread in the hand needle.
Now, take one stitch that passes through the tissue pattern and the layers of the fabric. Now, from the other side, take the needle back through the pattern and fabric and cut thread tails that are long in length.
The next step involves lifting the tissue pattern off the fabric, allowing the tails to pass through.
Now, turn the fabric over, use a different thread color, and use a second stitch that goes over the first in the same technique, leaving behind the long tails.
Now, pulling the layers of fabric apart, the one set will stay stitched onto the top layer while the alternative set will remain stitched onto the bottom.
These threads now mark a clear position for sewing that can be viewed from either side.
3. Why Two Safety Pins Are Better Than Just One
Many sewing enthusiasts pull cording or elastic through a type of casing. For this technique, some people use a safety pin to guide it through.
However, in some cases, the cord or elastic at the start point can go into the casing. This is when it becomes a complex task to weave backward, which usually means the individual has to start all over again.
To avoid this issue, use another safety pin to secure the cord’s tail or elastic to its casing.
4. How To Make A Button Shank Out Of Thread
When using flat buttons for thicker fabric, creating button shanks out of thread is advisable. To do this, start with threading the needle using thread that is a double strand.
The next step involves taking one stitch at the placement mark for the button on the fabric’s right side. This will hide the knots underneath the buttons.
Now, take the stitch through each button as one would normally do, but avoid pulling this thread tight. Follow this up by selecting a spacer that ensures ample room between the button and the fabric.
When using thinner fabrics, use a toothpick or pin; when using thicker fabrics, use a thin pen, chopstick, darning needle, or bobby pin. Place the spacer underneath each button between these holes and then tug on the thread from the sewing needle to secure the spacers and tighten the thread.
Follow up by sewing on the buttons in the traditional manner.
Once the button is securely sewn, ensure the needle is on the fabric’s underside. Remove the spacer, ensuring the stitch remains taut. Bring the needle through the fabric and then the button, and wind this thread around the sewn stitches until a shank has been created.
For a finished look, especially when using the larger spacers, use blanket stitches that are closely spaced around these threads as opposed to just winding threads around this shank. When finished, ensure the thread has been secured closely to the shank.
5. Extreme Makeovers
Shop consignment or resale stores that sell used shirts for men can be used for this type of project. Take the shirt, cut off the sleeves, cuffs, and collars, and open up the side seams.
Now press all the items flat. Now lay a simple blouse pattern over the remainder of the shirt and use the existing hems and button plackets.
One can make a scoop-neck blouse by adapting the neckline to take advantage of the original button placements. Shorter sleeves can be cut out from the original shirt, and in most cases, there will be sufficient fabric left over to cut out a new self-facing for the neckline.
Pockets can also be repositioned and dependent on the fit of the original garment; one can keep the yoke and shoulders of the shirt and only adapt the length, sleeves, and neck.
6. Tape Guide Using Topstitch
One can sew straight top stitching onto fabric without any markings by using masking tape on the fabric to establish the top stitching guide. All that is required is to stitch along the tape edge and then remove this tape once finished.
7. Hem Guide Using Silicone
Hem guides made of metal can be uncomfortably hot when pressing the hem. To avoid this issue, use one strip of a silicone pot holder.
One can make these strips from a whole pot holder and cut the strips into various-sized hem guides. The iron will not harm the silicone and will always remain cool.
8. How To Stop Disappearing Ink From Vanishing
To stop air-soluble disappearing inks from fading away fast, apply Scotch Magic Tape onto each mark. In addition, when pulling off the tape, no residue will be left behind.
It takes far less time to remove the tape than to reconstruct these marks.
9. Marking A Hem Without A Helper
To mark hems without helpers, take a string and stretch it tightly across the length of a doorway to the desired height for the hem and now tape or tack it onto the jamb on each side. Now dust bath powder over this string.
Now, with the garment on, brush up against this powdered string, which will transfer a dusting onto this garment at the exact right height. This is ideal for coats, dresses and skirts.
10. Using A Crotchet Hook To Remove Basting
Crochet hooks are fantastic tools to remove basting threads, open seams, or ease up stitching threads. Use the rounded point to get underneath a stitch and then the hook to remove the threads.
This technique stops the dangers of snagging the threads’ fabrics or cutting an accidental hole into the fabric. This is usually a risk when using a seam-ripper.
It is best to use a size nine hook, but smaller hooks also work.
For beginners, you may not know what a backstitch is. It’s elementary in sewing, and you need to know it. Backstitching is essential when sewing by hand or on the machine.
What is it exactly? This secures the starting and finishing seam that was just sewn. The seam will, without fail, unravel if you don’t backstitch.

Each modern machine has a backstitch button. Even the majority of older machines had them. No matter which one that is used, the process is the same.
Typically, the button is just a symbol of an arrow that points backward. We will use curtains as an example.
When you start and stop a seam, the backstitch must be used.
First, sew the first 5-6 forward stitches as you normally would. If you have a manual button to backstitch and are new to using it, you may want to slow the machine down.
Just until you get used to it. After you have sewn the first 5-6 forward stitches, you can push the backstitch button for the backstitch.
Many modern machines will auto-backstitch without holding the button down. But with some, you must hold down the button while it backstitches.
5-6 stitches are plenty of backstitches for the beginning and ending seams. The fabric also feeds backward while this takes place, so keep that in mind.
When backstitching, do your best to guide the thread over the stitches that have just been sewn. If it’s not exact, don’t worry. Just get it as close as possible.
Once you have backstitched the 5-6 stitches, sew forward again. If you have a manual backstitch button, you must hold and release the button until you finish the backstitch.
As mentioned previously, be sure to backstitch at the end of the seam as well. So, the process goes this way.
First, sew a forward seam 5-6 stitches. Next, backstitch. Follow this up by sewing to the end of the seam and then backstitch once again for the final stitching of that seam.
Now you’re done, with a nice secure seam. This prevents the thread from unraveling at the beginning and end of the stitching.

Fun And Easy Sewing Projects For Kids

How To Sew A Shirt In Several Simple Steps

Hand Sewing Leather Patches On Jeans

Top 10 Sewing Hacks

What Is Backstitching And Why Should I do It?

How To Set Up Your Sewing Area For Maximum Efficiency

Mastering These Basics Will Quickly Advance Your Skill Level

4 Tips When Looking For Vintage Patterns To Sew

Top 5 Reasons To Learn Sewing

How To Sew Leather: 5 Helpful Tips

How To Use A Sewing Machine Safely

Simple Sewing Projects You Can Complete In A Day Or Less

Know How to Hem Pants By Hand

Sewing Room Ideas For The Home Seamstress

The Benefits And Uses Of Free-Arm Sewing Machines

Essential Sewing Tools For Beginners

How To Sew On A Patch Onto A Leather Jacket

Finding Good Sewing Lessons Online

Mastering The Art Of Selling Handmade Items Online
