Quilting
An Introduction To Quilting For Beginners
Quilting for beginners isn’t hard, especially since the Internet is overflowing with detailed guides and general tips.
Quilting is the art of assembling a unique blanket from smaller pieces of fabric. It involves planning, craftsmanship, and aesthetic sensibility; this makes it an excellent hobby.
This overview will help you get ready to dive into the quilter’s world.

Tools And Techniques
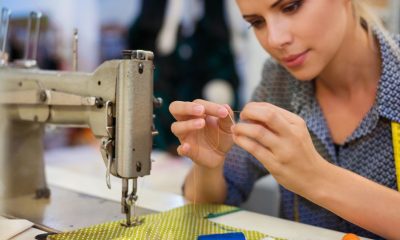
Quilts are thousands of years old, and proud quilting traditions run through many different cultures around the world. While most traditional quilts are still hand-sewn using labor-intensive techniques, you’ll want to start with a sewing machine.
If you stick with quilting, you may want to invest in a longarm quilting setup, but this takes up a lot of space (often more than 10 feet by 3 feet).
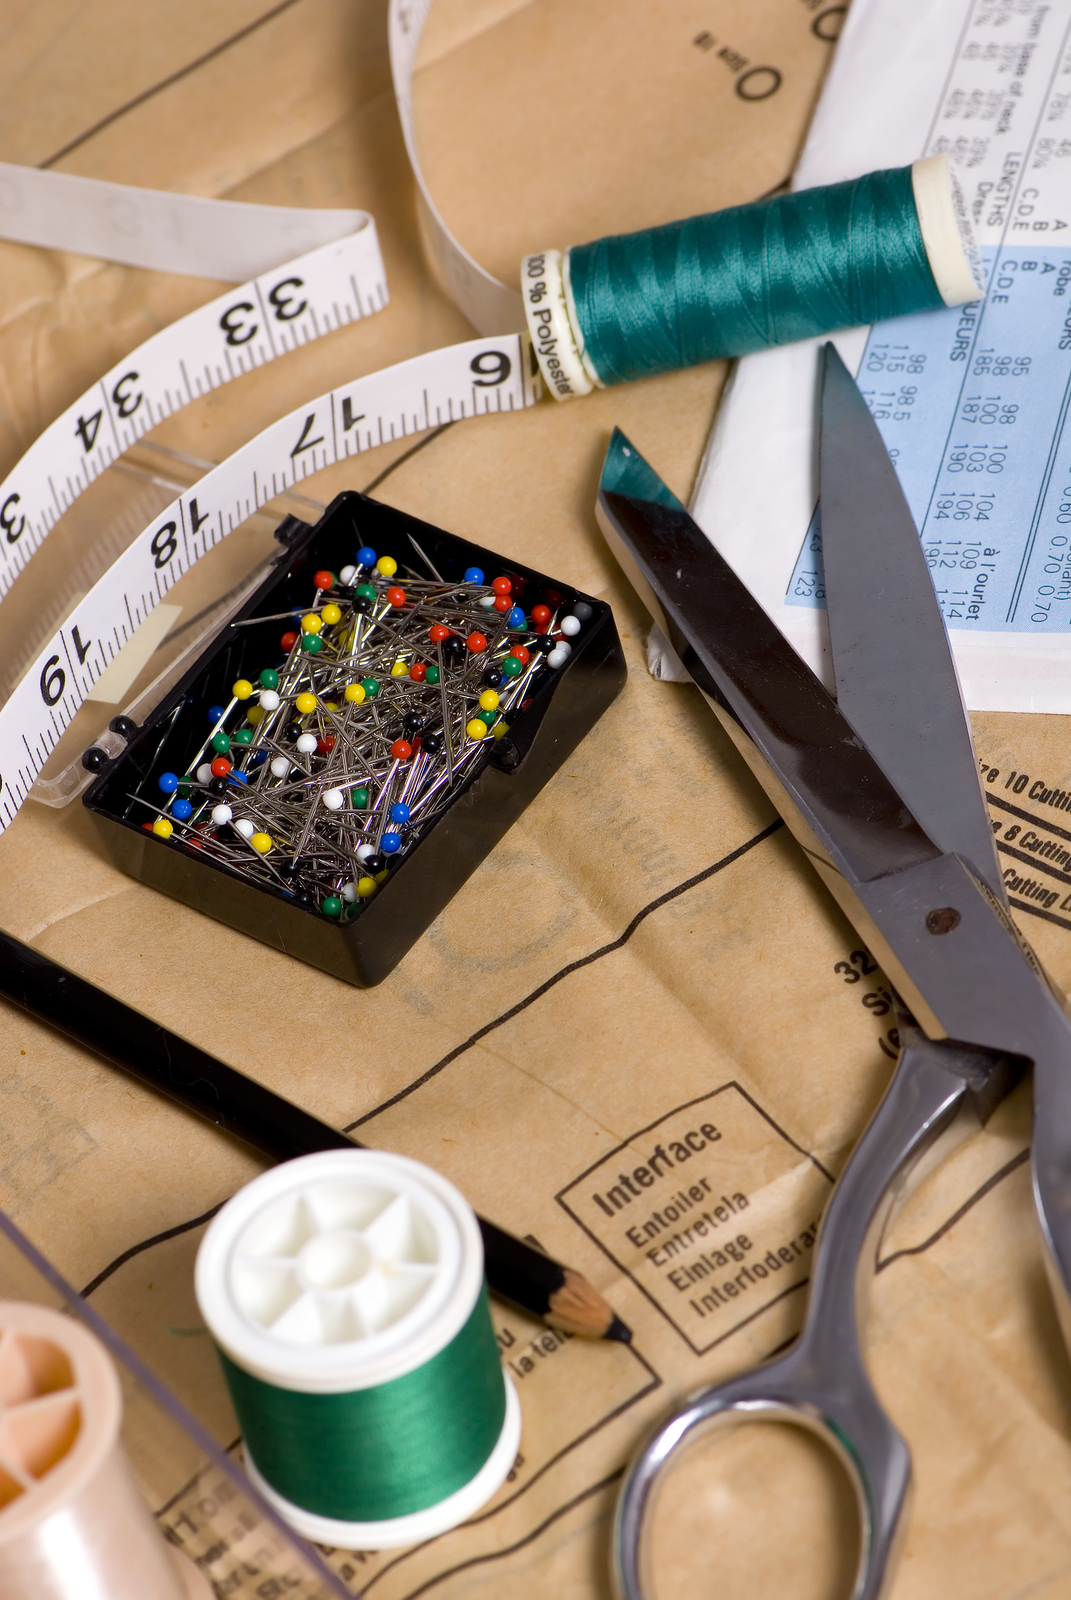
The first dedicated quilting tool you should invest in is a rotary cutter. Accuracy in cutting your fabric is vital if you want your finished quilt to line up and look good.
Rotary cutters make you both faster and more accurate when cutting, and good ones aren’t very expensive. On the technical end of the business, you’ll need to master the quarter-inch seam early on in your quilting career.
This is a bit less generous than the traditional five-eighths seam used when sewing clothes, so if you’re an avid sewer, you may have some habits to unlearn.
Hitting the measurement precisely isn’t quite as important as being consistent: You’ll need to practice until you can produce the same size seam over and over.
The Brilliance Of Using Blocks
The quilt has three pieces: the top, the batting, and the back. You’ll spend most of your time putting together the top, and this is where all the artistry and innovation show up.
While more exotic quilt styles involve complex patterns for assembling the top, beginners should stick to the square block in quilting. Six inches is an excellent size for your first quilts.
The pieces aren’t so large, and anyone’s block is irreplaceable. Blocks can be patterned in any way you desire.
Geometric shapes assembled out of contrasting fabrics are popular, as are embroidered blocks. When you’re starting, stick with something fairly simple.
Go beyond unadorned blocks, though! Making up blocks is a huge part of quilting. Select an easy-to-craft pattern (there are plenty of pattern indexes online) that has some visual interest.
Assembling Your First Quilt
Each individual block needs to be sewn together before you assemble all of the blocks to make the front. This is why accurate seams are important; there are so many seams in a quilt that small errors multiply rapidly.
Work in an assembly-line fashion, completing each block and comparing it with your previous work. Don’t be afraid to set aside a block with bad dimensions.
Sewing your blocks together also requires care. Seams and blocks should be pressed flat before assembly to ensure the finished quilt is even.
Most beginning quilters start by sewing strips of blocks together and then assembling the strips to produce the finished top. The top, back, and batting are assembled next and basted together to remain aligned while you sew them.
Your quilt must be capped off with a border, a simple piece of fabric folded over the edges. Hand-sewing the rear of the border is traditional to provide added strength.
This overview is just a first peek into quilting. You’ll want to gather plenty of additional information before you start planning your first quilt; you’ll need to learn more about your different fabric options.
With this general guide laying out the rough path that will lead you to your first finished quilt, you should have a good idea of what to expect.


Once you have decided on a pattern, the colors and the fabric, it’s time to cut out all the pieces for your handmade quilt. Once you start sewing all the pieces together for creating your quilt top, you will begin to envision the finished product making you eager to continue working on it.
This post contains affiliate links, please read my full disclosure here. I only recommend products that I myself use or would use.

The quality of the work you do as you progress will ensure that it turns out like you want it to. It requires precision and care when sewing all the pieces together.
By following these simple steps, you can be assured that your quilt top will be beautiful and that the finished product will make you proud. It’s essential that when you use a pattern that you follow all the directions carefully.
If you are dealing with a quilt that has different shapes and sized quilt pieces, this is especially important.
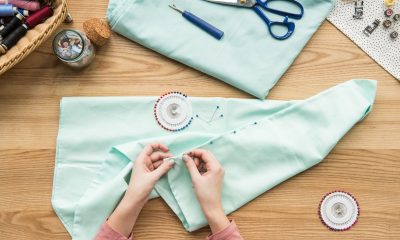
If at all possible, lay out all the pieces on a large table or the floor in the pattern that you are going to be sewing them. You can then get a good idea of how all the colors and patterns should look in the finished quilt.

When making smaller pieces into bigger blocks to sew them together, you should lay those blocks out on the table or floor too. You can then rearrange them into whatever pattern you like.
When you are making your own quilt, one of the fun things about it is that you can decide how you want it to look.

If the pattern is complicated or you don’t want to forget, you can number everything with a sticky note so that you don’t forget where you are once you begin sewing them.

Start on one side and go the whole way over
You should always start either at the top or the bottom and sew the complete row together before going to the next section or row.

If you don’t want your quilt to turn out lopsided or uneven, you must be sure that you use exactly the same seam allowance on the entire quilt.
The most common seam allowance used is 3/8 inches. If you are using a pattern, be sure to check this.
If your sewing machine does not have seam allowance markings, you will need to be sure the needle is in the down position.
Carefully measure from the needle to find the correct allowance. You can use a piece of masking tape to mark the fabric while sewing as well.

Iron the hem to make it easier to sew
You should always press the seams of the patchwork before sewing the rows together. Be sure that you are ironing the seam in the correct direction.
Most quilters will press the seams to one side to prevent what are known as loft bumps from happening. Plus, if you press the seams open, it can cause the fabric to stretch at the bottom and the top of the seam.
This makes it hard to line them up when sewing two rows together. To prevent the quilt from bulking up at the seams, you can iron the seams of every other row in an opposite direction.
This is known as nesting and can keep the quilt top from becoming too bulking in these areas.

When you have cut and sewn your quilt pieces together properly, you can be assured that you will have a beautifully crafted quilt with the seams being perfectly aligned. When you finish a quilt that is put together perfectly, you will feel proud and satisfied from a job that was well done.

Fun And Easy Sewing Projects For Kids

How To Sew A Shirt In Several Simple Steps

Hand Sewing Leather Patches On Jeans

Top 10 Sewing Hacks

What Is Backstitching And Why Should I do It?

How To Set Up Your Sewing Area For Maximum Efficiency

Mastering These Basics Will Quickly Advance Your Skill Level

4 Tips When Looking For Vintage Patterns To Sew

Top 5 Reasons To Learn Sewing

How To Sew Leather: 5 Helpful Tips

How To Use A Sewing Machine Safely

Simple Sewing Projects You Can Complete In A Day Or Less

Know How to Hem Pants By Hand

Sewing Room Ideas For The Home Seamstress

The Benefits And Uses Of Free-Arm Sewing Machines

Essential Sewing Tools For Beginners

How To Sew On A Patch Onto A Leather Jacket

Finding Good Sewing Lessons Online

Mastering The Art Of Selling Handmade Items Online
